This bone-in chicken breast recipe gets you crisp, golden skin and juicy white meat by splitting the job in two: the skillet browns the skin, the oven cooks the meat through gently on its own rib bones. You salt the breasts the night before, sear them skin-side down, baste them with butter, garlic and thyme, roast them at 400°F until the thickest part reads 160°F, and let them rest up to the USDA's 165°F while you make a pan sauce in the same skillet. It is the restaurant method Gordon Ramsay teaches for chicken, adjusted for the bigger, bone-in split breasts most supermarkets sell.
Split breasts cost less than boneless ones and forgive more, but they bring their own questions: how long to bake them, what temperature they are done at, why the meat by the bone can look pink, and why the skin so often comes out pale and soft. Each one has a simple answer once you know what heat is doing to the skin and the meat, so that is how this page is laid out.
What Is a Bone-In (Split) Chicken Breast?
A split chicken breast is one half of a whole chicken breast, sold with the skin on and the bone in. A whole breast is two halves joined along the breastbone; the butcher saws it down the middle, so each half keeps its thin curved rib bones, a strip of breastbone and its full covering of skin, and sometimes a little rib meat or back attached. "Bone-in chicken breast" and "split chicken breast" on a label mean the same cut. They often run 10 to 14 ounces each in U.S. stores, about twice the size of the 6 to 8 ounce halves older cooking charts were written for, which is why so many recipe times come out short.
The bone and skin change how the breast cooks. The rib cage sits under the thickest part of the meat and shields that side from the heat, so the meat right next to the bone is the last part to come up to temperature. That slower, more even climb is the real reason a split breast tends to stay juicier than a boneless one, and it is also why you check the temperature next to the bone, not just in the middle. The skin protects the top of the meat from drying out in the oven and, once its fat renders out, gives you the crisp layer a boneless breast never has. If you buy whole birds instead, our guide to choosing and breaking down a chicken shows how to cut your own and keep the carcass for stock.
Gordon Ramsay's Sear-and-Roast Method for Chicken Breast
The sear-and-roast method comes from the chicken supreme lesson in Gordon Ramsay Teaches Cooking on MasterClass, and it maps onto a bone-in chicken breast almost step for step. He takes the chicken out of the fridge a little ahead so it isn't stone cold, because a cold breast dries at the edges before the center cooks. He heats the pan first and then adds grapeseed oil, which he prefers for meat and chicken over olive oil because it tolerates more heat. The chicken only goes in when the pan makes it sizzle; if it doesn't, he says, you end up boiling it instead of sautéing it.
Once the skin has color, whole smashed garlic cloves and plenty of thyme go in with a knob of butter, and he spoons that butter over the chicken as it turns nut-brown before the pan goes into the oven. Then he rests the chicken and builds the sauce in the same unwashed pan: shallots, the roasted garlic back in, a splash of brandy to lift the browned bits, stock, and finally the shallots and garlic pushed through a sieve so they thicken the sauce on their own. His supreme is a boneless breast with the wing bone left on and spends 8 to 10 minutes in the oven. A split breast on its rib cage is much thicker, so it needs about twice that, and it roasts skin-side up on its own bones instead of skin-side down.
Dry-Brine Bone-In Chicken Breast for Crispy Skin and Seasoned Meat
Dry-brining means salting the chicken breasts and leaving them uncovered on a rack in the fridge for 4 to 24 hours, and it fixes two problems at once: bland meat and soggy skin. Salt on the surface first pulls liquid out of the meat by osmosis, then dissolves into that liquid and is drawn back in, carrying the seasoning well below the surface. Along the way the salt loosens some of the muscle proteins so they hold on to more of their water when they cook. Salt is the only seasoning that travels like this; herbs, garlic and the flavors of a marinade stay within a few millimeters of the surface, which is why this recipe salts ahead and saves the garlic and thyme for the pan.
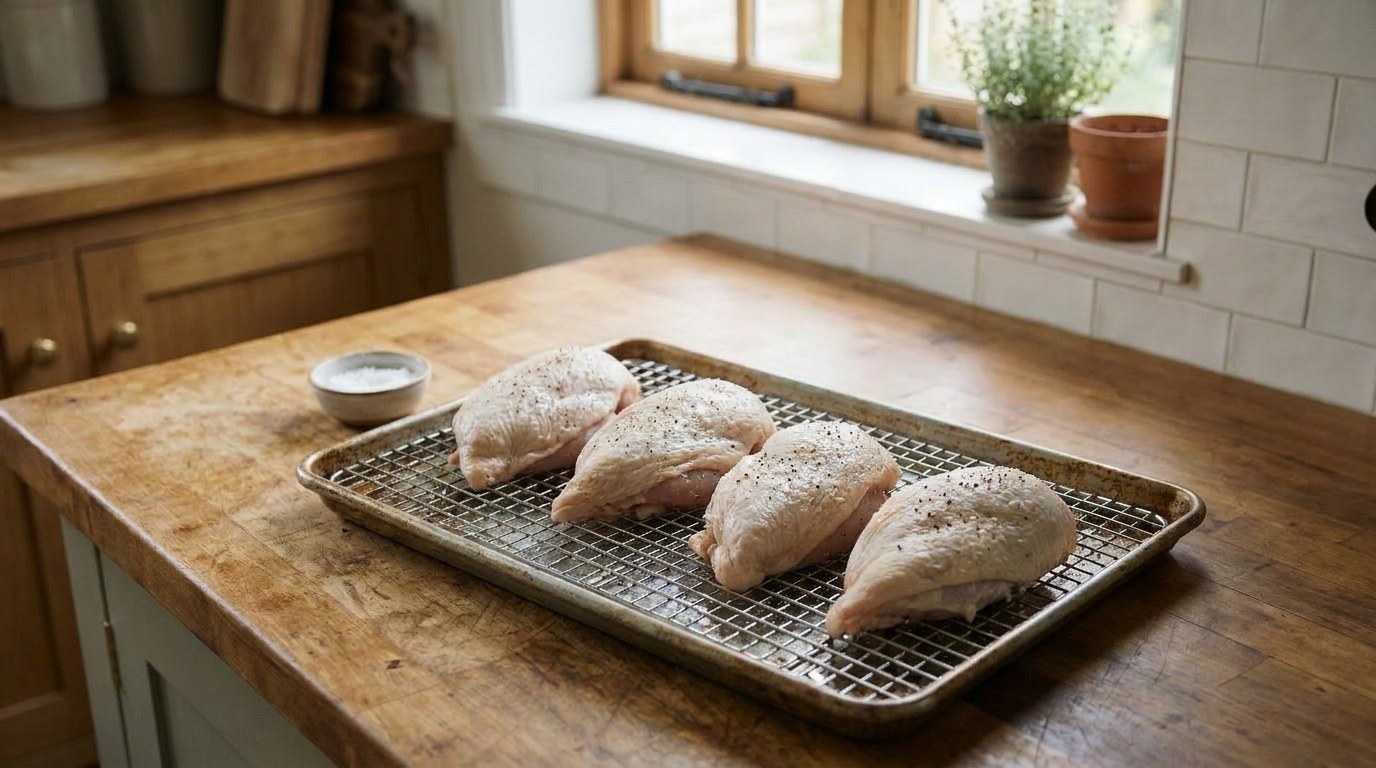
The open fridge air dries the skin while the salt seasons the meat, and dry skin is what lets it brown. Water can't get hotter than 212°F (100°C), while the Maillard reaction that turns skin golden and savory only starts around 284°F (140°C). Wet skin sits at the boiling point, steaming, until every drop is gone, and by then the meat underneath has overcooked. Slide some of the salt under the skin onto the meat so it seasons the part you eat, not only the skin. If you only have a few minutes, salt just before cooking instead, because an hour or less leaves the drawn-out brine sitting on the surface as a wet, salty film; if you are in that window, blot the skin dry first. And skip rinsing the chicken: New Mexico State University points out that the splash spreads bacteria around your sink and counter, while cooking is what kills them.
How to Get Crispy Skin on Bone-In Chicken Breast
For crispy skin on a bone-in chicken breast, sear it skin-side down in an oven-safe skillet over medium heat for 6 to 8 minutes, until the skin is deep golden and lets go of the pan on its own, before it ever goes in the oven. A split breast is domed, so press gently on the thick end for the first minute and then tip each one onto its rounded sides for 30 seconds so the edges brown too. If the skin sticks when you try to lift it, wait; it releases once it has browned.
Medium heat matters for two reasons. The skin is a layer of fat as well as protein, and that fat needs a few minutes to render, melting out into the pan and leaving the skin thin enough to crisp; pricking the thick fat pockets with a skewer helps it along, a trick America's Test Kitchen uses. Their testing also found that water trapped under the skin sputters in a smoking-hot pan, so a steady medium flame lets it evaporate quietly. Browning flavor peaks around 320°F (160°C) and anything past about 356°F (180°C) starts to scorch and taste bitter, so a roaring pan buys you burnt spots rather than better skin.
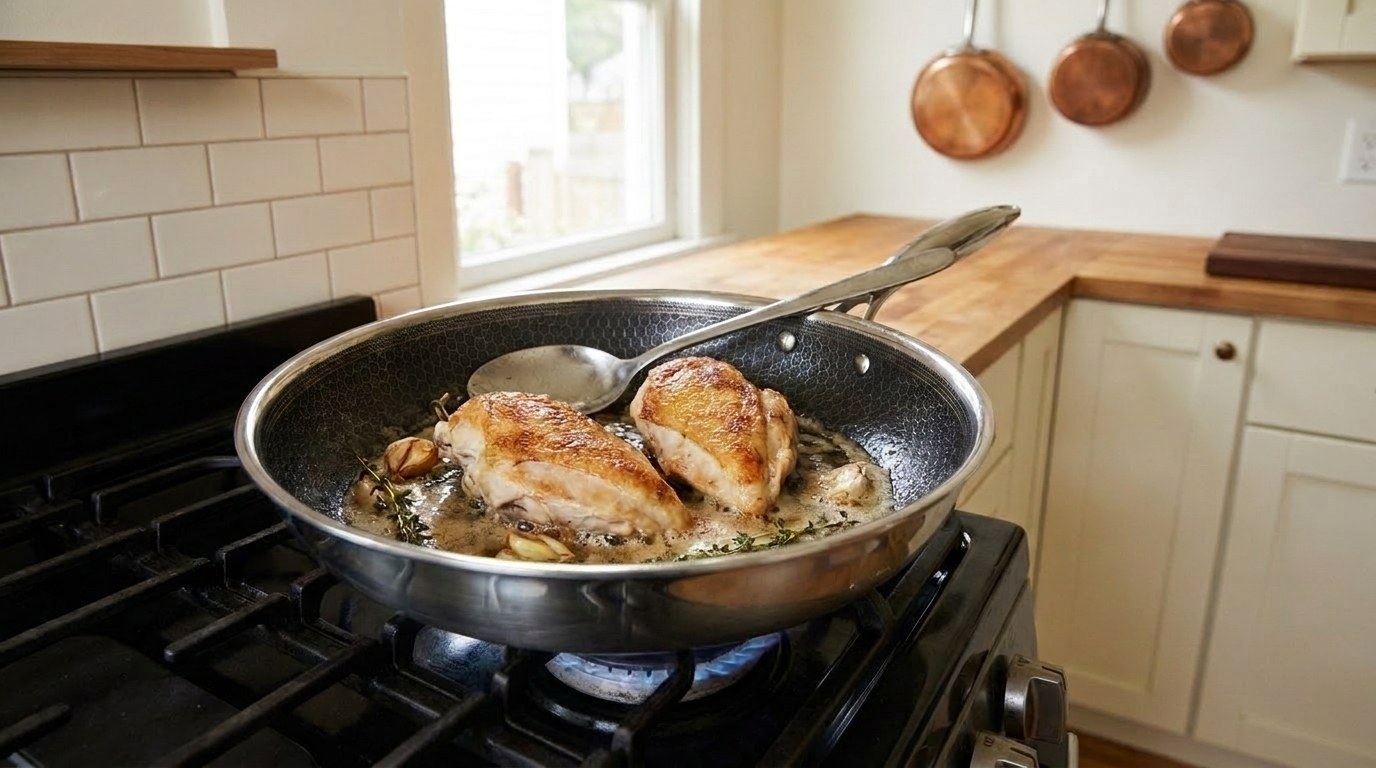
Then turn the breasts skin-side up so they sit on their rib bones, add the butter, garlic and thyme, and spoon the foaming butter over the meat for a minute as it turns nut-brown. Basting is often sold as a way to keep chicken moist, and it doesn't do that: the meat is already full of water and heat is squeezing it out, so no amount of butter on the outside goes back in. What basting does is brown and flavor the surface with hot butterfat and garlic, which is reason enough. Searing doesn't "seal in" juices either. A seared breast loses moisture at the same rate as an unseared one; you sear for the color and flavor of the crust.
How Long to Bake Bone-In Chicken Breast
Bake a bone-in chicken breast of 10 to 14 ounces for about 35 to 45 minutes at 400°F, or 18 to 25 minutes at 400°F after searing the skin in a skillet, and take it out when the thickest part reads 160°F. Time depends far more on how thick the breast is than on the oven setting, because heat has to travel from the surface to the center, and a breast twice as thick takes much more than twice as long. The FoodSafety.gov poultry chart lists 30 to 40 minutes at 350°F for bone-in halves of 6 to 8 ounces; most split breasts sold today are bigger, so they need longer. Use these times as the moment to start checking, not the moment to stop:
| Oven temperature | 6 to 8 oz breast half | 10 to 14 oz split breast | What you get |
|---|---|---|---|
| 350°F | 30 to 40 min (USDA chart) | 45 to 55 min | The gentlest, most even cook; pale, soft skin unless you sear it first |
| 375°F | 25 to 35 min | 40 to 50 min | Juicier than 425°F in America's Test Kitchen testing, but the skin stayed pale |
| 400°F | 22 to 30 min | 35 to 45 min | The best oven-only balance of browned skin and moist meat |
| 425°F | 20 to 25 min | 25 to 35 min | Fast browning, but the thin end dries out before the thick end is done |
| This recipe: sear, then 400°F | 12 to 18 min in the oven | 18 to 25 min in the oven | Crisp skin from the pan, a gentle finish on the bone |
The pattern in that table is the trade-off every bone-in chicken breast recipe is juggling. America's Test Kitchen found that at 425°F a breast reached 160°F in about 25 minutes with nicely browned skin, but the narrow end dried out; at 375°F the meat was juicier and the skin stayed pale and flabby. Searing on the stove first takes the skin out of the equation, so the oven only has to cook the meat, and 400°F gets it there before the edges dry. Bake it uncovered. A lid or foil traps steam and undoes the crisp skin you just made.
Bone-In Chicken Breast Temperature: Pull at 160°F, Serve at 165°F
Bone-in chicken breast is done when the thickest part reads 165°F (74°C), the safe minimum on the USDA's safe temperature chart, so take it out of the oven at 160°F and let carryover heat finish the last few degrees while it rests. Push the probe into the thickest part from the side, close to the bone without touching it, since bone reads hotter than the meat around it. Check again after the rest: if it doesn't read 165°F, it goes back in the oven for a few minutes. That second reading is the safety check, so don't skip it.
ThermoPro
ThermoPro TempSwift Instant-Read Digital Thermometer
- Reads in about 1 second, accurate to ±0.9°F, with a 4.3-inch food-grade stainless probe
- Hold and calibration functions, so you can lock a reading away from the heat
- NSF certified and IP65 waterproof, rinse it clean under the tap
An instant-read thermometer like this one is the tool that makes a split breast come out right every time, because breast meat has very little room for error. Meat proteins start to tighten between about 122 and 140°F, and around 136°F the collagen in the meat contracts and wrings out moisture; a breast has almost no fat or connective tissue to soften that, so every degree past done costs you juice. ThermoWorks notes that individual chicken pieces climb at least 3 to 4°F after they leave the heat, which is exactly the gap between pulling at 160°F and eating at 165°F. If you also want to know your oven is running true, our oven thermometer guide explains why most ovens drift.
Don't panic at a little pink right next to the bone. ThermoWorks explains that young chickens have porous bones, so pigment from the marrow can tint the meat beside them, and the meat pigment myoglobin can stay pink too, even in chicken cooked well past 165°F. Color tells you nothing about doneness, and neither do "clear juices." The thermometer is the only honest test.
Rest the Chicken, Then Make the Pan Sauce
Rest bone-in chicken breasts for 5 to 10 minutes, skin-side up and uncovered, before you carve them, and use that time to make a pan sauce in the skillet. Resting doesn't "relax" the meat; what it does is let the juices cool slightly and thicken, so more of them stay in the meat when you slice instead of running across the board. Covering the chicken with foil keeps it warmer but softens the skin with trapped steam, so leave it open.
The browned bits stuck to the skillet are the base of the sauce: they are concentrated Maillard flavor from the skin and the butter. Pour off most of the fat, soften a sliced shallot, squeeze the roasted garlic out of its skins, then add a splash of white wine (or brandy, as Ramsay does) to dissolve the fond. Add chicken stock and boil it hard so it reduces by about half; evaporation concentrates the stock's flavor and gelatin, which gives the sauce body. Off the heat, swirl in a cold piece of butter. The butterfat breaks into tiny droplets held in the reduced stock, an emulsion that turns the sauce glossy and slightly thick, and it splits if it boils again, so add the butter last. A little lemon zest and juice sharpen it, and pushing the shallot and garlic through a sieve thickens it the way Ramsay does.
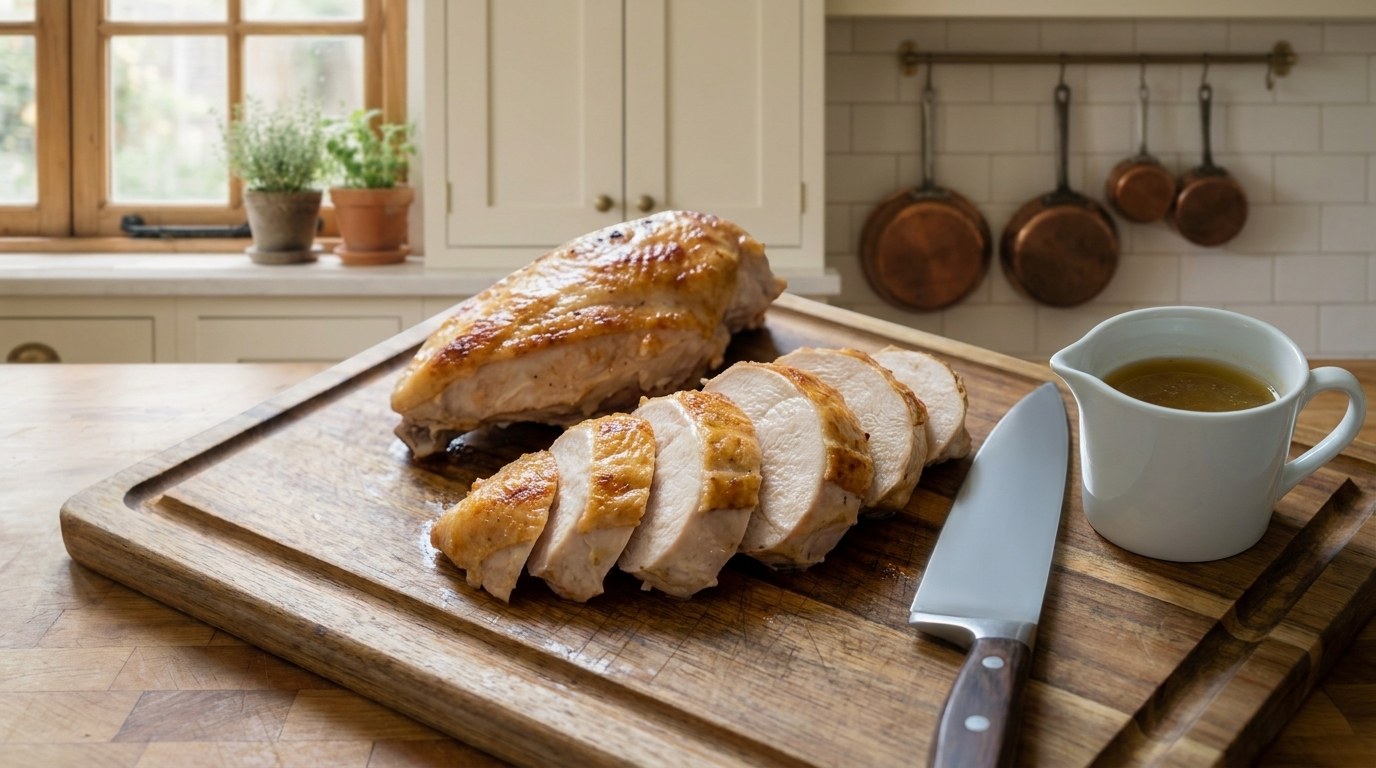
To carve, set the breast skin-side up, run a sharp knife down along the rib cage to lift the meat off in one piece, and slice it crosswise about 1/2 inch thick, across the grain, so every slice keeps a strip of skin. Spoon the sauce around the chicken rather than over it, which keeps the skin crisp to the table.
What to Serve With Bone-In Chicken Breast
Bone-in chicken breast with a pan sauce goes best with something that catches the sauce and something green. Plated the Hell's Kitchen way, it comes with an andouille sausage and potato hash and garlicky Swiss chard, a pairing that works for a reason: crisp potatoes and smoky sausage on one side, wilted greens on the other. For an easier weeknight plate, try Yukon Gold mashed potatoes for the sauce, sautéed spinach with garlic in place of the chard, or honey-glazed carrots with thyme, which share the same herb.
Leftovers keep in the fridge for 3 to 4 days. Reheat them on a rack in a 350°F oven until hot through to 165°F; the oven crisps the skin again where a microwave steams it soft. Cold, the meat slices neatly for sandwiches and salads, and the bones make a small batch of stock.
If this bone-in chicken breast recipe becomes a regular, the same ideas scale up to a whole bird: our brick chicken with herb gremolata presses a spatchcocked chicken flat for even crisp skin, the Hell's Kitchen-style jidori chicken roasts a whole bird with a lemon butter sauce, and the roast chicken with chickpea stuffing puts herb butter under the skin. Every one of them is in our best Gordon Ramsay chicken recipes, and the rest of the dinners live in Recipes.
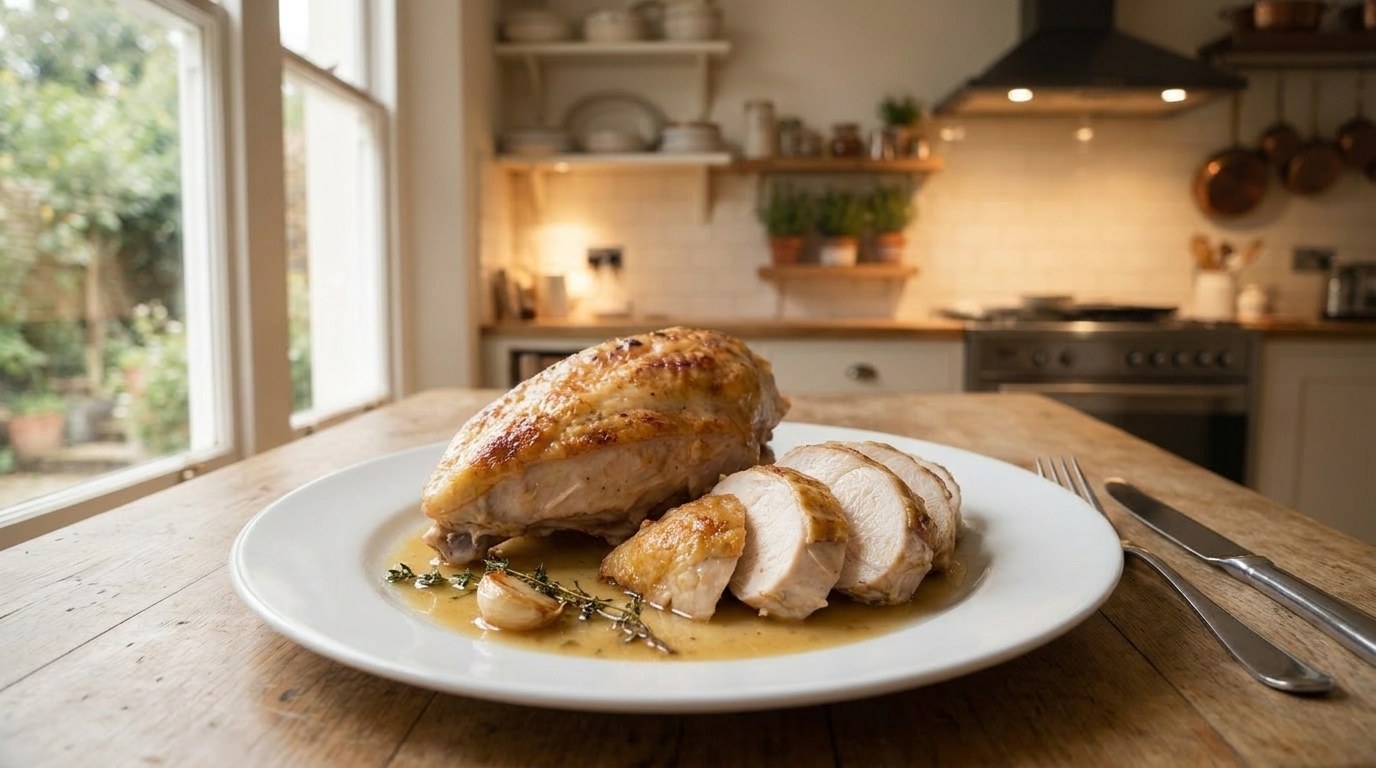
Pan-Roasted Bone-In Chicken Breast with Garlic-Thyme Pan Sauce
Ingredients
Chicken
- 4 bone-in, skin-on split chicken breasts (10 to 12 oz each, about 2¾ lb in total)
- 2½ tsp Diamond Crystal kosher salt (or 1½ tsp Morton kosher salt)
- 1/2 tsp freshly ground black pepper
- 1 tbsp grapeseed or other neutral oil
- 2 tbsp unsalted butter, for basting
- 4 garlic cloves, unpeeled and lightly smashed
- 6 sprigs fresh thyme
Pan sauce
- 1 small shallot, thinly sliced
- 1/4 cup dry white wine (or brandy)
- 1¼ cups low-sodium chicken stock
- 1 tbsp cold unsalted butter
- 1/2 lemon (1/2 tsp finely grated zest and 1 to 2 tsp juice)
Instructions
- Pat the chicken dry. Gently loosen the skin with your fingers and sprinkle about a third of the salt on the meat underneath, then season the skin and the underside with the rest of the salt and the pepper. Set skin-side up on a wire rack over a sheet pan and refrigerate, uncovered, for 4 to 24 hours. Do not rinse it.
- About 30 minutes before cooking, take the chicken out of the fridge and heat the oven to 400°F with a rack in the middle. Blot any moisture off the skin with paper towels.
- Heat a 12-inch oven-safe skillet over medium-high heat for 2 minutes, then add the oil and swirl. When it shimmers, lay the breasts in skin-side down, away from you; they should sizzle. Turn the heat to medium and cook without moving for 6 to 8 minutes, pressing gently on the thick ends for the first minute, until the skin is deep golden and releases from the pan on its own. Tip each breast onto its rounded sides for about 30 seconds to brown the edges.
- Turn the breasts skin-side up so they rest on their rib bones. Add the 2 tbsp butter, the garlic and the thyme. When the butter foams and smells nutty, about 1 minute, tilt the pan and spoon the butter over the chicken for another minute.
- Transfer the skillet to the oven and roast for 18 to 25 minutes, until an instant-read thermometer pushed into the thickest part, next to but not touching the bone, reads 160°F.
- Move the chicken to a board or rack, skin-side up and uncovered, and rest for 5 to 10 minutes. Check that it reads at least 165°F; if not, return it to the oven for a few minutes. Leave the garlic and thyme in the skillet.
- Make the sauce (the skillet handle is very hot, so use a mitt): pour off all but about 1 tbsp of fat. Set over medium heat, add the shallot and cook for 2 minutes, stirring up the browned bits. Squeeze the soft garlic out of its skins into the pan. Take the pan off the heat, add the wine, then return it and simmer until almost gone, about 1 minute.
- Add the stock and boil until reduced by about half, 5 to 7 minutes. Pour in any juices from the resting chicken. Off the heat, swirl in the cold butter until glossy, then add the lemon zest and juice. Taste and season, then strain, pressing the shallot and garlic through the sieve with a spoon.
- Serve the breasts whole, or run a knife along the rib bones to lift the meat off in one piece and slice crosswise 1/2 inch thick. Spoon the sauce around the chicken, not over the skin.
Notes
Bone-In Chicken Breast FAQs
The questions that come up most: how long to bake bone-in chicken breast at 400°F and at 350°F, what temperature it is done at, what a split chicken breast is, whether to cover it, whether it takes longer than boneless, why it can be pink by the bone, and how to keep it juicy.
How long do you bake bone-in chicken breast at 400°F?
About 35 to 45 minutes for a 10 to 14 ounce split breast baked straight in the oven, or 18 to 25 minutes if you sear the skin in a skillet first. Smaller 6 to 8 ounce halves take about 22 to 30 minutes. Take it out at 160°F in the thickest part and rest it to 165°F.
How long do you bake bone-in chicken breast at 350°F?
The USDA chart on FoodSafety.gov gives 30 to 40 minutes at 350°F for bone-in breast halves of 6 to 8 ounces. Most split breasts sold today weigh 10 to 14 ounces, so allow about 45 to 55 minutes and start checking with a thermometer at 40.
What temperature is bone-in chicken breast done?
165°F (74°C) in the thickest part of the breast, measured close to the bone without touching it, is the USDA safe minimum. Pull it from the oven at about 160°F; small pieces carry over 3 to 4°F as they rest. If it does not read 165°F after resting, return it to the oven.
What is a split chicken breast?
One half of a whole chicken breast, with the skin on and the rib bones and part of the breastbone still attached. "Split chicken breast" and "bone-in chicken breast" are the same cut. They usually weigh 10 to 14 ounces each.
Should you cover bone-in chicken breast when baking?
No. Bake it uncovered so the skin stays dry enough to brown and crisp. Foil or a lid traps steam, which keeps the skin at about 212°F, far below the 284°F where browning starts, so it turns soft and pale. Rest it uncovered too.
Does bone-in chicken breast take longer to cook than boneless?
Yes. A split breast is thicker, and the rib bones shield the meat next to them, so it takes noticeably longer than a boneless breast of similar weight; in a skillet-to-oven method a bone-in breast needs roughly twice the oven time of a boneless supreme. Go by temperature, not the clock.
Why is my chicken pink near the bone?
Often it is fully cooked. Young chickens have porous bones, so pigment from the marrow can tint the meat beside them, and the meat pigment myoglobin can stay pink even past 165°F. If a thermometer reads 165°F in the thickest part, it is safe, pink or not.
How do you keep bone-in chicken breast juicy?
Salt it 4 to 24 hours ahead and leave it uncovered in the fridge, sear the skin, then roast at 400°F and pull it at 160°F so carryover takes it to 165°F instead of the oven taking it past. Rest it 5 to 10 minutes before slicing so the juices thicken and stay in the meat.

About the Author
John Siracusa is the founder of Hell’s Kitchen Recipes. He focuses on technique-first, reproducible home cooking and researches recipes & kitchen equipment from published food science and professional chef methods since 2016.