You’ve probably seen Gordon Ramsay‘s infamous reactions to poorly executed dishes, and a lackluster charcuterie board would certainly earn his signature scowl. But creating a board worthy of his praise isn’t as challenging as you might think. While many home entertainers focus solely on filling space with random selections, there’s actually a systematic approach to building a board that would earn Ramsay’s approval. From selecting premium aged meats to mastering the art of visual composition, these five expert tips will transform your next charcuterie presentation from amateur to exceptional.
Quality Ingredients Above All Else

While a charcuterie board isn’t technically cooked, the selection and preparation of quality ingredients is vital to creating a board worthy of Gordon Ramsay’s approval. The focus should be on sourcing premium cured meats, artisanal cheeses, and complementary accompaniments that create a balanced and sophisticated flavor profile. Much like his famous Beef Wellington sauce, Ramsay’s attention to detail and high-quality ingredients are essential for an elevated culinary experience.
The key to an exceptional charcuterie board lies in the variety and quality of each component. From properly aged prosciutto to cave-ripened cheeses, every element should be at its peak of flavor and freshness. Room temperature serving is necessary, as cold temperatures can dull the complex flavors of fine meats and cheeses.
- 8 oz prosciutto di Parma
- 4 oz Spanish chorizo
- 4 oz Genoa salami
- 8 oz aged Manchego cheese
- 6 oz Brie cheese
- 4 oz aged Gouda
- Fresh figs
- Marcona almonds
- Local honey
- Cornichons
- Whole grain mustard
- Dried apricots
- Fresh grapes
- Crusty baguette
- Water crackers
- Fresh rosemary sprigs
Remove all meats and cheeses from refrigeration 30-45 minutes before serving. Arrange the board by placing larger items initially – cheese wedges and meat rolls – creating height variations and natural separations. Fill gaps with smaller items like nuts and dried fruits. Fold or roll meats for easy access, and cut harder cheeses into thin wedges while leaving softer cheeses whole with appropriate cutting tools.
When storing ingredients before assembly, keep meats and cheeses wrapped in butcher paper or cheese paper, not plastic wrap, to maintain proper humidity levels. Harder cheeses can last several weeks properly stored, while softer varieties should be consumed within days of purchase. Always purchase meats from reputable sources and make sure proper temperature control during transport from store to home.
Master the Art of Arrangement

A charcuterie board isn’t technically cooked but rather artfully arranged, making the visual composition just as crucial as the flavor combinations. The arrangement process requires careful attention to balance, color contrast, and proper spacing to create an impressive presentation that would meet even Gordon Ramsay’s exacting standards.
The key to a professional-looking charcuterie board lies in understanding the fundamental principles of food styling while ensuring easy access to all components. Starting from the largest items and working down to the smallest creates natural focal points and prevents the board from appearing cluttered or overwhelming.
- Large wooden or slate board
- 3-4 types of cured meats (prosciutto, salami, chorizo)
- 3 varieties of cheese (soft, aged, and firm)
- Fresh and dried fruits
- Mixed nuts
- Honey
- Whole grain mustard
- Cornichons or olives
- Fresh herbs for garnish
- Crusty bread and crackers
- Fig jam or quince paste
- Dark chocolate pieces
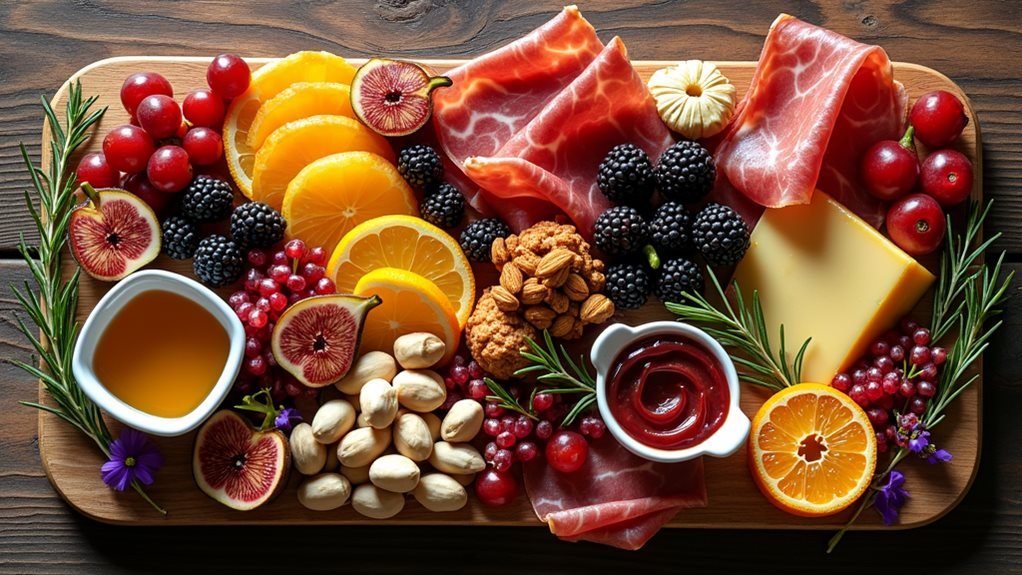
Begin by placing small bowls for honey, mustard, and other condiments on your board as anchor points. Fan out larger meats like prosciutto in waves, then create cheese stations in triangular positions across the board. Fill spaces between meat and cheese with clusters of fruits, nuts, and crackers. Roll or fold smaller cured meats into rosettes or accordion pleats, placing them strategically to add height variation. Finish by tucking fresh herbs between groupings and filling any remaining gaps with smaller items like olives or chocolate pieces.
When arranging your board, keep items that might leak or transfer moisture away from crackers and bread. Allow cheese to come to room temperature for 30-45 minutes before serving for ideal flavor and texture. Pre-cut harder cheeses but leave soft cheeses whole with a cheese knife nearby. Consider the number of guests when determining portion sizes – generally plan for 2-3 ounces of meat and cheese per person. Like the velvety sauce in Ramsay’s chicken fricassée, a well-crafted charcuterie board combines elegance with rich, harmonious flavors.
Temperature and Texture Matter
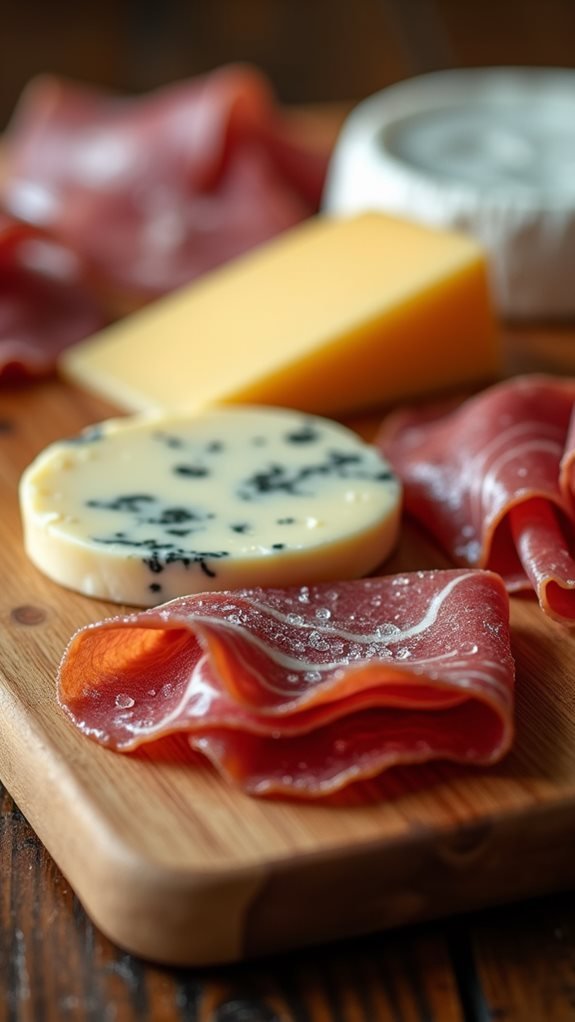
While a charcuterie board isn’t technically cooked, proper temperature control is essential for ideal flavor and food safety. Cold meats should be taken out of refrigeration 15-20 minutes before serving to allow their flavors to develop fully, while soft cheeses need 30-45 minutes to reach the perfect serving temperature.
Textural contrast is just as vital when assembling a charcuterie board. Combining different consistencies – from firm aged cheeses to creamy spreads, crisp crackers to tender cured meats – creates an engaging tasting experience that keeps palates interested throughout the meal.
- 3-4 types of cured meats (prosciutto, salami, coppa)
- 3-4 cheeses (brie, aged cheddar, blue cheese)
- Fresh crusty baguette
- Assorted crackers
- Fresh and dried fruits
- Mixed nuts
- Honey
- Grain mustard
- Cornichons or olives
- Serving board or platter
Begin assembly by taking cheeses out of refrigeration 30-45 minutes before serving time. Remove meats 15-20 minutes before serving. Arrange larger items first – cheeses and meat selections – spacing them around the board. Fill in gaps with smaller items like nuts, fruits, and condiments. Fold or roll meats attractively, and pre-slice harder cheeses. Place small serving utensils for spreads and condiments.
Temperature control continues even during service. Don’t leave the board at room temperature for more than 2 hours. For larger gatherings, consider preparing two smaller boards and rotating them from refrigeration as needed. Keep backup supplies chilled until needed, and have spare serving utensils ready to replace any that become messy during service.
Perfect Your Pairings
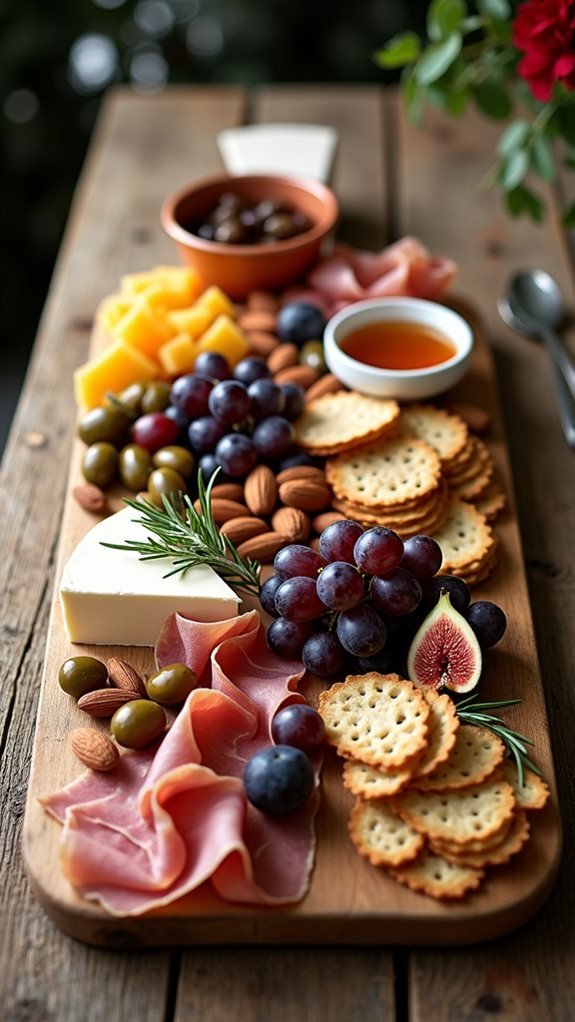
While a charcuterie board isn’t technically cooked, mastering the art of pairing different elements creates a symphony of flavors that would impress even Gordon Ramsay. The key lies in understanding how different tastes and textures complement each other, creating a balanced and sophisticated eating experience.
The perfect charcuterie board combines cured meats, cheeses, fruits, nuts, and accompaniments in a way that allows each element to shine while creating exciting flavor combinations. This recipe focuses on classic Mediterranean-style pairings that provide a good foundation for any charcuterie board.
- Prosciutto (4 oz)
- Salami (4 oz)
- Matured pecorino cheese (4 oz)
- Brie cheese (8 oz)
- Fresh figs (6)
- Red grapes (1 bunch)
- Spanish almonds (1 cup)
- Honey (4 oz)
- Quince jelly (4 oz)
- Crusty baguette (1)
- Water crackers (1 box)
- Fresh rosemary sprigs (2)
- Assorted olives (1 cup)
Arrange the cheeses initially, spacing them apart on the board. Roll or fold the prosciutto into loose roses and arrange the salami in overlapping circles between the cheeses. Place the figs and grapes in small clusters around the board. Fill remaining spaces with almonds and olives. Add small bowls of honey and quince jelly. Slice the baguette thinly and arrange with crackers on the side. Garnish with rosemary sprigs.
For best results, remove cheeses from refrigeration 30 minutes before serving to allow them to reach room temperature. Consider the season when selecting fruits – replace figs with dried fruits in winter months.
Always provide small serving utensils for each cheese and spread, and arrange items so guests can easily access them from multiple angles.
Seasonal Elements for Extra Flair
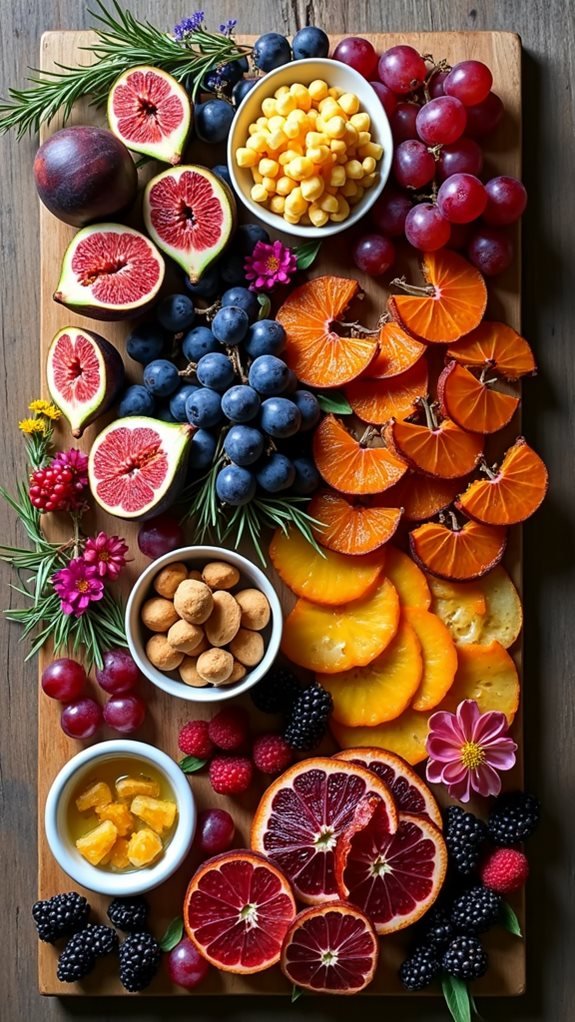
Adding seasonal components to a charcuterie board transforms it from a standard appetizer into a thoughtfully curated experience that changes with nature’s rhythms. Each season brings its own abundance of fruits, vegetables, and garnishes that can enhance your board’s visual appeal and flavor complexity.
The key to seasonal charcuterie components lies in selecting ingredients at their peak freshness and combining them with complementary flavors. Spring calls for tender asparagus and radishes, summer demands ripe berries and stone fruits, autumn welcomes figs and roasted squash, while winter embraces citrus and pomegranate arils.
- Fresh seasonal fruits
- Mixed nuts
- Edible flowers (seasonal)
- Honey or honeycomb
- Fresh herbs (rosemary, thyme, sage)
- Roasted vegetables
- Pickled seasonal vegetables
- Dried fruits
- Jam or preserves
- Citrus slices
- Fresh berries
- Fig spread
Select your seasonal components based on what’s currently available at local markets or farms. Wash all produce thoroughly and pat dry. Toss roasted vegetables with olive oil, salt, and pepper, then roast at 400°F until tender. Arrange larger items first, then fill in with smaller components like berries and nuts. Keep fresh herbs in water until ready to use, then pat dry and arrange as final garnishes.
Temperature control is crucial for maintaining the freshness of seasonal components. To enhance flavors, remove fruits and vegetables from refrigeration 30 minutes before serving. Avoid cutting delicate fruits too far in advance, as they may oxidize. If using edible flowers, verify they’re food-safe and pesticide-free. Place moist items like fresh fruits on small plates or in shallow bowls to prevent moisture from affecting nearby dry ingredients.
