Mastering a holiday bird doesn’t require guesswork. Start with the fundamentals in our Cooking Techniques hub, then use this guide to apply Gordon Ramsay’s signature under-skin herb butter or the Brine approach for juicy meat and crispy skin from edge to edge.
Why Gordon Ramsay’s Herb Butter Method Works
Placing compound butter under the skin lets fat melt directly into lean breast meat, while a light exterior coat promotes even browning. Ramsay’s two-stage roasting plan—starting hot at 425°F and then finishing at 350°F—delivers quick color followed by gentle heat, keeping the meat tender. Turkey is safe to serve once the thickest part of the thigh reaches 165°F (USDA).
Step-by-Step Guide to the Technique
This section focuses on technique. Your recipe card plugin can hold ingredients and measurements.
-
- Preheat & position: Set the rack in the lower third. Heat to 425°F (or 400°F if using convection). Verify with an oven thermometer for accuracy.
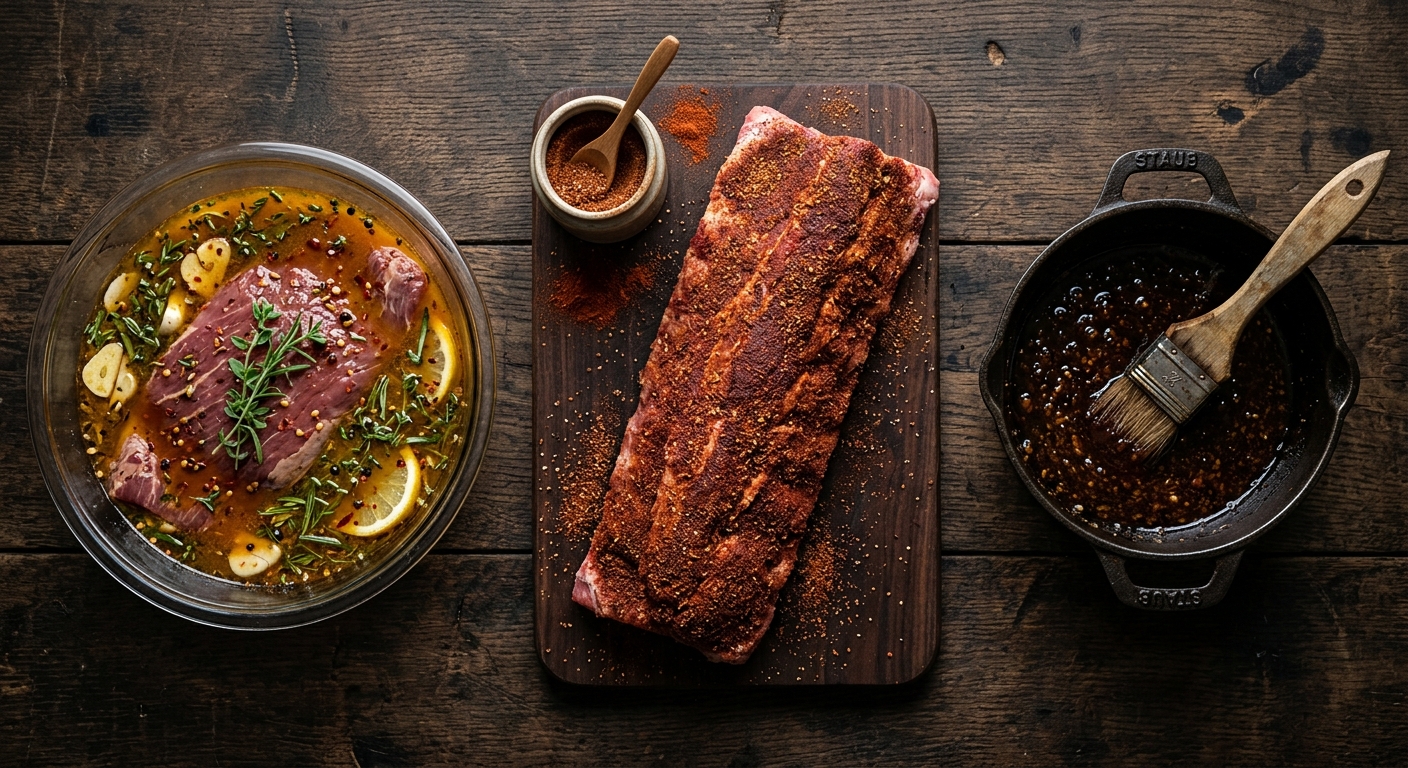
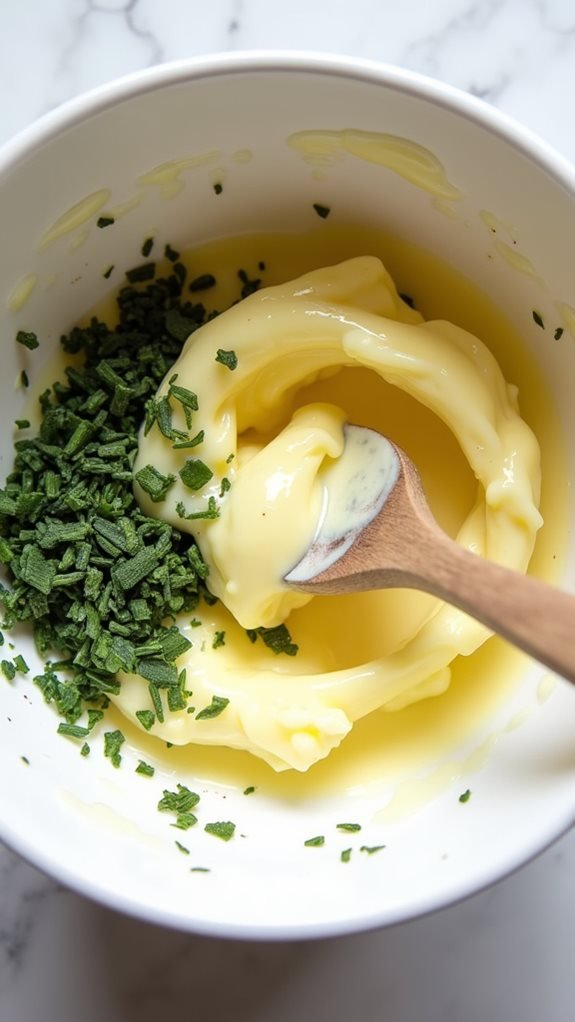
- Mix herb butter: Blend softened unsalted butter with finely chopped sage, thyme, salt, and pepper until smooth and spreadable.
- Dry thoroughly: Pat the bird dry, inside and out. Surface moisture blocks crisping.
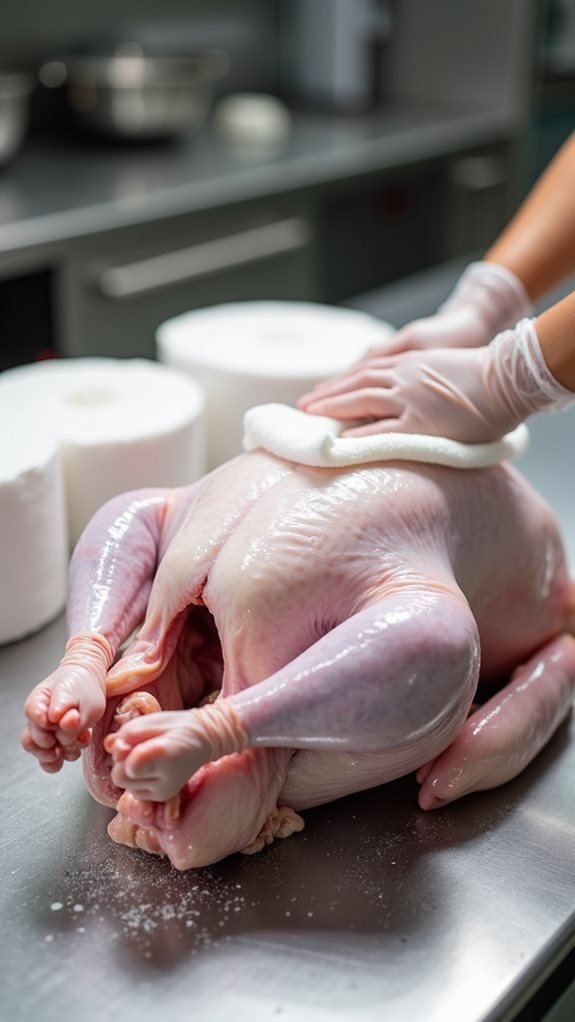
- Apply under and over the skin: Gently loosen skin over breasts and thighs. Spread a generous but even layer of herb butter under the skin; coat the exterior lightly.

- Roast in two stages: cook for 30 minutes at 425°F, then reduce the temperature to 350°F until the thigh reaches 165°F on a probe (avoiding the bone).
- Baste on a schedule: Every 30 minutes with pan drippings—enough for color and flavor without dumping oven heat each time.
- Rest well: Remove the turkey and let it rest for 30–45 minutes.
Real-world chefs report a 5–10°F carryover rise during this period (Reddit community data), which helps ensure doneness and juiciness. Prefer to see it done? Watch Ramsay’s YouTube video walkthrough.
Common Questions & Troubleshooting
Why start at 425°F and then lower the heat?
The initial blast crisps and colors the skin; the lower “cruise” temp finishes the meat gently to avoid drying out the breast.
Where should I place the thermometer probe?
Insert into the thickest part of the thigh, angled toward the body, not touching bone. Confirm 165°F for safety.
What if the skin is darkening too fast?
Tent loosely with foil to shield the surface while the heat finishes the interior.
Can I make the herb butter in advance?
Yes—up to 24 hours ahead. Refrigerate, then let it soften to a spreadable consistency before applying.
How should I adjust for convection?
Drop the set temperature by ~25°F (e.g., 400°F start), and begin checking doneness sooner. Convection accelerates browning.
History & Evolution
Butter-basting poultry appears in European cookery for centuries; Julia Child helped popularize slipping butter and herbs under the skin for American home cooks. Ramsay keeps the spirit but strips the process to practical steps that deliver consistent results in a home oven.
Carving & Serving Tips
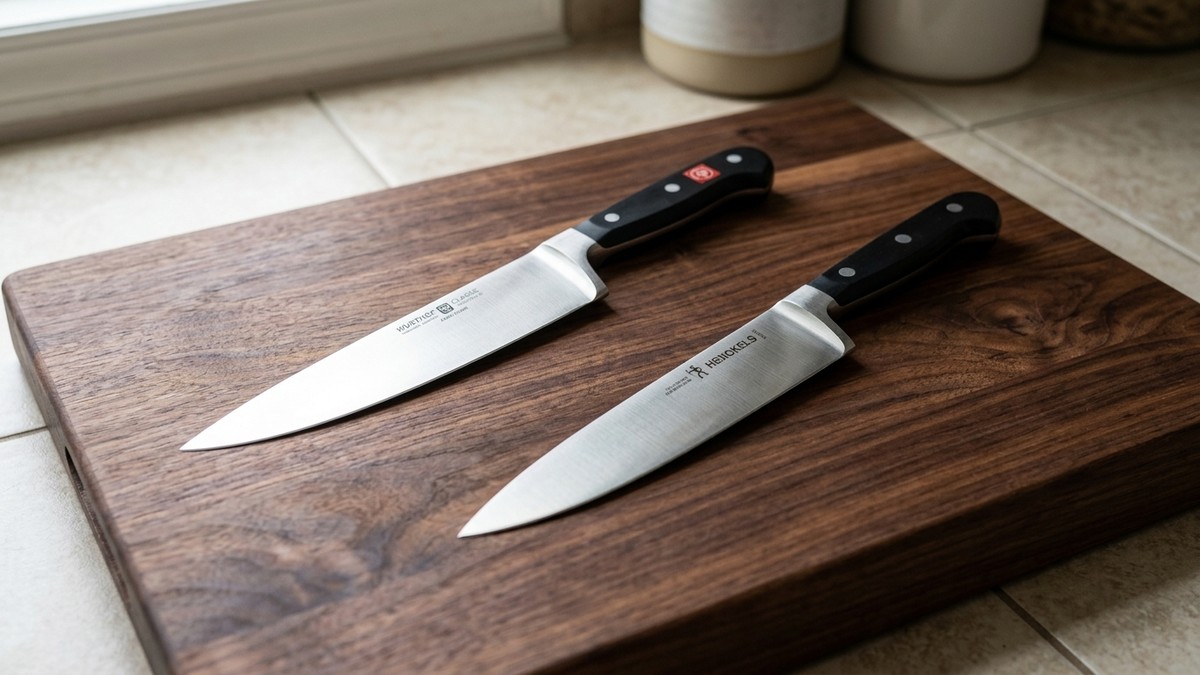
Use a sharp carving knife and a sturdy fork. Remove legs first at the joint, then slice the breast meat against the grain into even portions. Plate with fresh sage, thyme, and roasted citrus for aroma and color. For equipment picks, see our Kitchen Equipment collection.
How We Tested
We roasted multiple 12–14 lb birds in both conventional and convection ovens, tracking oven variance, rack position, and rest time. Under-skin butter consistently produced juicier breast meat; thorough pat-drying was the biggest driver of crisp skin. All tests verified 165°F in the thickest thigh before serving.


Roasted Turkey Recipe
Ingredients
- 1 turkey
- 2 onions, peeled and halved
- 1 lemon, halved
- 1 head garlic halved horizontally
- 6 bay leaves
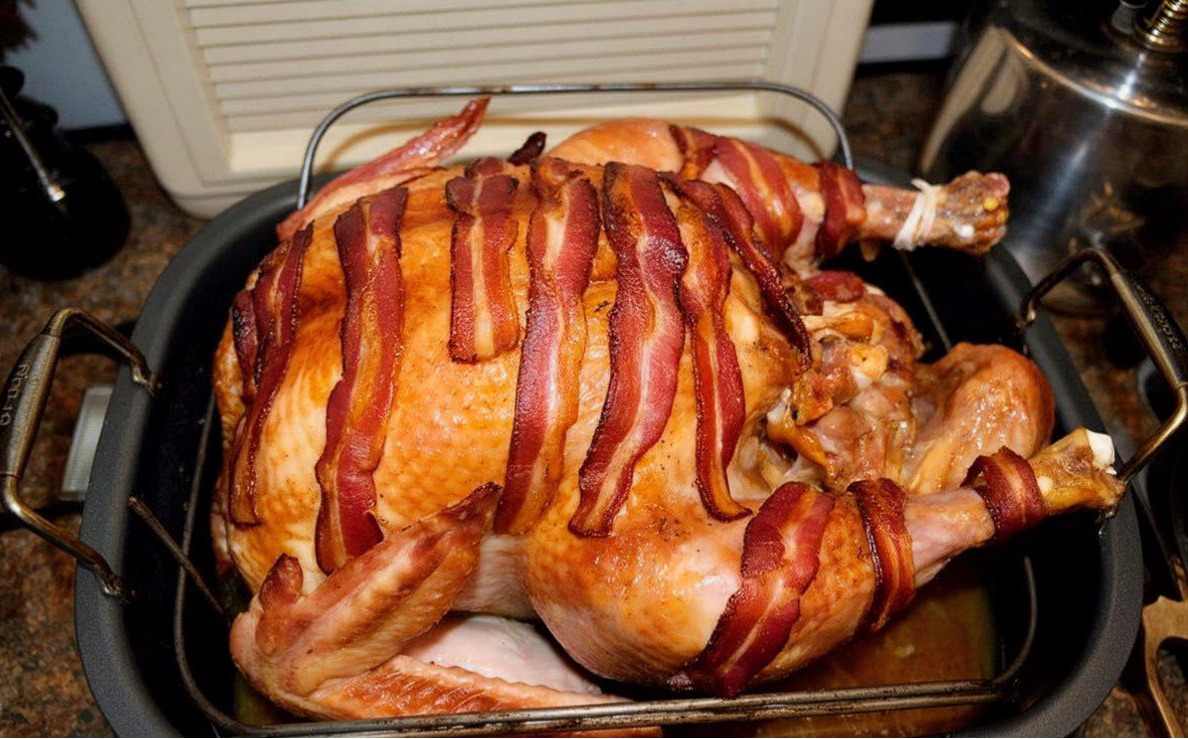
- 8 slices smoked streaky bacon
- 1 2/3 cups (3 1/2 sticks) butter at room temperature
- 1 tablespoon olive oil
- 2 small lemons, zest and juice finely grated
- 3 cloves Garlic, peeled and crushed
- 1 small bunch flat leaf parsley, leaves only, chopped
- sea salt u0026 freshly ground black pepper
- additional olive oil to drizzle
For Gravy
- 4 tablespoons unsalted butter (or use the equivalent amount of fat from meat drippings if available)
- 1/4 cup all-purpose flour
- 2 cups broth (beef, chicken, or vegetable, depending on your preference or what you're serving it with)
- Salt, to taste
- Black pepper, to taste
- Optional: herbs and spices like thyme, rosemary, garlic powder, etc., to taste
Instructions
- Preheat the oven to 428°F.
- Combine the butter, olive oil, finely grated lemon zest and juice, crushed garlic, and chopped parsley in a large bowl.
- Remove the turkey giblets, season the turkey cavity with salt and pepper, then stuff it with the onions, lemon, garlic halves, and 2 bay leaves.
- Gently loosen the skin on the turkey's breast and legs while keeping it intact. Distribute half the flavored butter in the spaces under the skin and gently massage it from the outside to spread it evenly over the meat. Insert the remaining bay leaves under the skin.
- Place the turkey, breast side up, in a large roasting pan. Spread the remaining butter over the skin, season well with salt and pepper, and drizzle with olive oil.
- Roast the turkey in the preheated oven for 10–15 minutes. Then take the pan out of the oven, baste the bird with the pan juices, lay the bacon rashers over the breast to keep it moist and baste again. Lower the oven to 350°F and cook for about 2½ hours, basting occasionally.
- To test whether the turkey is cooked, insert a skewer into the thickest part of the leg to see if the juices run clear, not pink. Check about 30 minutes before the calculated roasting time is up. If the juices are pink, roast for 15 minutes, then check again.
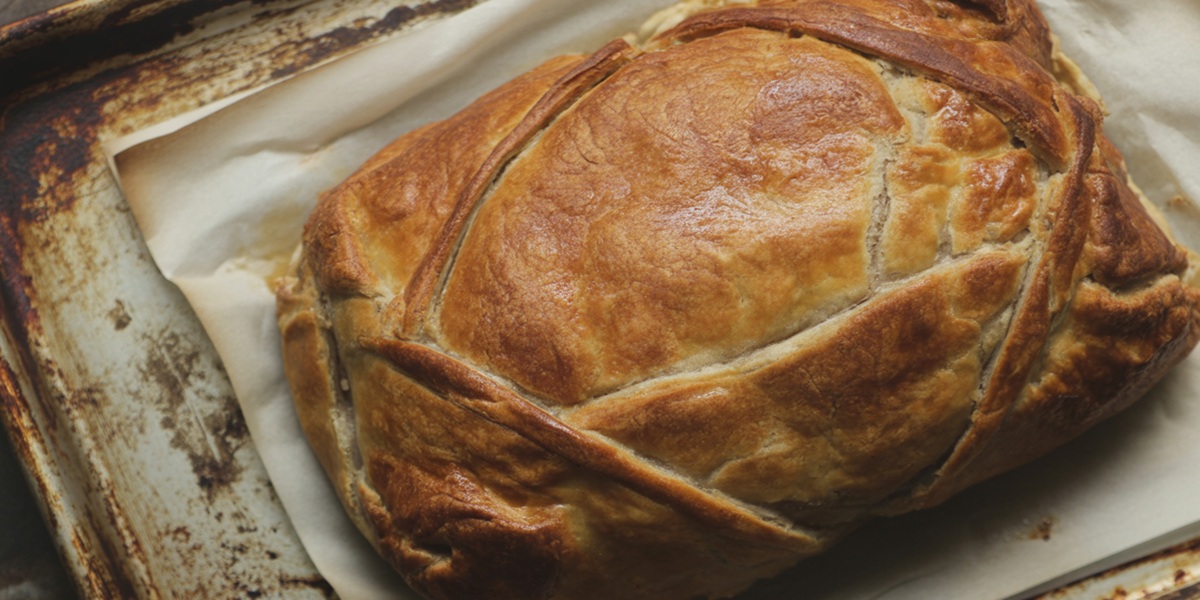
- When the turkey is cooked, transfer it to a warmed platter and let it rest in a warm place for at least 45 minutes before carving. Remove the bay leaves from under the skin before serving. Serve with hot gravy, stuffing and side dishes of your choice.
For Gravy
- Melt the Butter: Melt the unsalted butter in a saucepan over medium heat. If you're using meat drippings, heat them instead of butter.
- Make the Roux: Whisk in the flour and continue stirring to create a roux. Cook for a minute or two until the mixture is lightly browned and smells slightly toasted. This will help thicken the gravy and remove the raw flour taste.
- Add Liquid Slowly: Add the broth to the roux, whisking constantly to prevent lumps from forming. Pour slowly and keep the whisk moving to ensure a smooth consistency.
- Season: Add salt, black pepper, and any other desired herbs or spices. Stir well. If you're using meat drippings, be cautious with the salt, as drippings can already be quite salty.
- Simmer: Bring the gravy to a simmer and cook until it thickens to your desired consistency. Keep stirring occasionally.
- Adjust and Serve: Taste the gravy and adjust the seasoning if necessary. Once the gravy is thick and flavorful, remove it from the heat.
- Strain (Optional): For an extra smooth gravy, strain it through a fine-mesh sieve to remove any possible lumps.
- Serve the gravy hot over mashed potatoes, roast meats, or any other dish that could use some good, flavorful gravy.