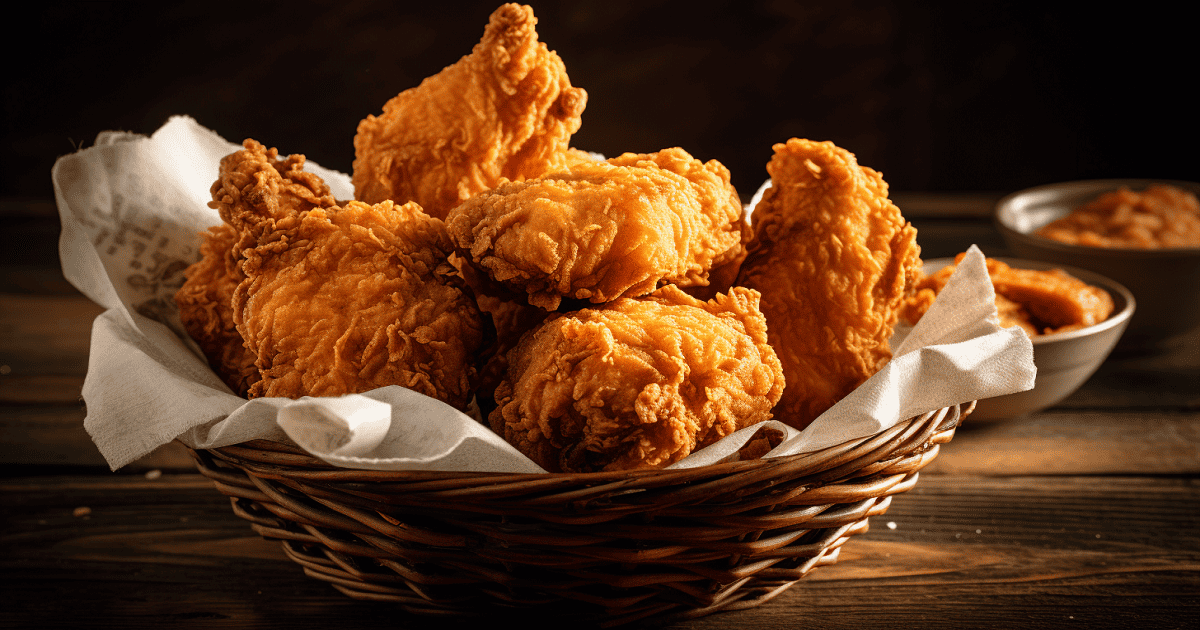
Making the perfect fried chicken can sometimes feel like a culinary quest, but the rewards of golden, crispy perfection are worth it. The biggest takeaway from my kitchen escapades? Don’t rush the marinating process, as soaking the chicken in buttermilk is the ticket to achieving that mouthwatering tenderness we all crave. I learned that the hard way when, in haste, I skipped the marinating time and ended up with less-than-juicy chicken. Seasoning is everything.
Don’t be shy about the spices because they transform your flour from bland to great. Keep your oil at a steady temperature; too low and you’ll have oil-logged chicken; too high and you’re looking at a burnt exterior with an undercooked middle. And here’s a tip: place fried chicken on a wire rack over paper towels. This little trick circulates air, keeping the bottom as crunchy as the top. These insights are simple, but they make a big difference and will set you on the path to fried chicken glory.
Unleash the flavor bomb: Relish the taste of Gordon Ramsay’s Sticky Spicy Chicken Wings: A Finger-Licking Delight.
Fried Chicken Recipe
Ingredients
For Fried Chicken:
- 4 pcs Chicken thighs
- 4 pcs Chicken drumsticks
- 2 ¼ cups Buttermilk
- 3 cups soy or corn oil for frying
- 2 3/8 cups plain flour
- 2 tsp. smoked paprika
- ½ tsp. garlic powder
- 2 tsp. cayenne pepper
- Sea salt to taste
- Freshly ground black pepper to taste
For Pickled Celery:
- ½ head of celery, trimmed
- 3.5 oz. white sugar
- 3.5 oz. white wine vinegar
- 5 cloves garlic
- 1 tbsp mustard seeds
- 6 black peppercorns
- Sea salt to taste
Instructions
For the Fried Chicken:
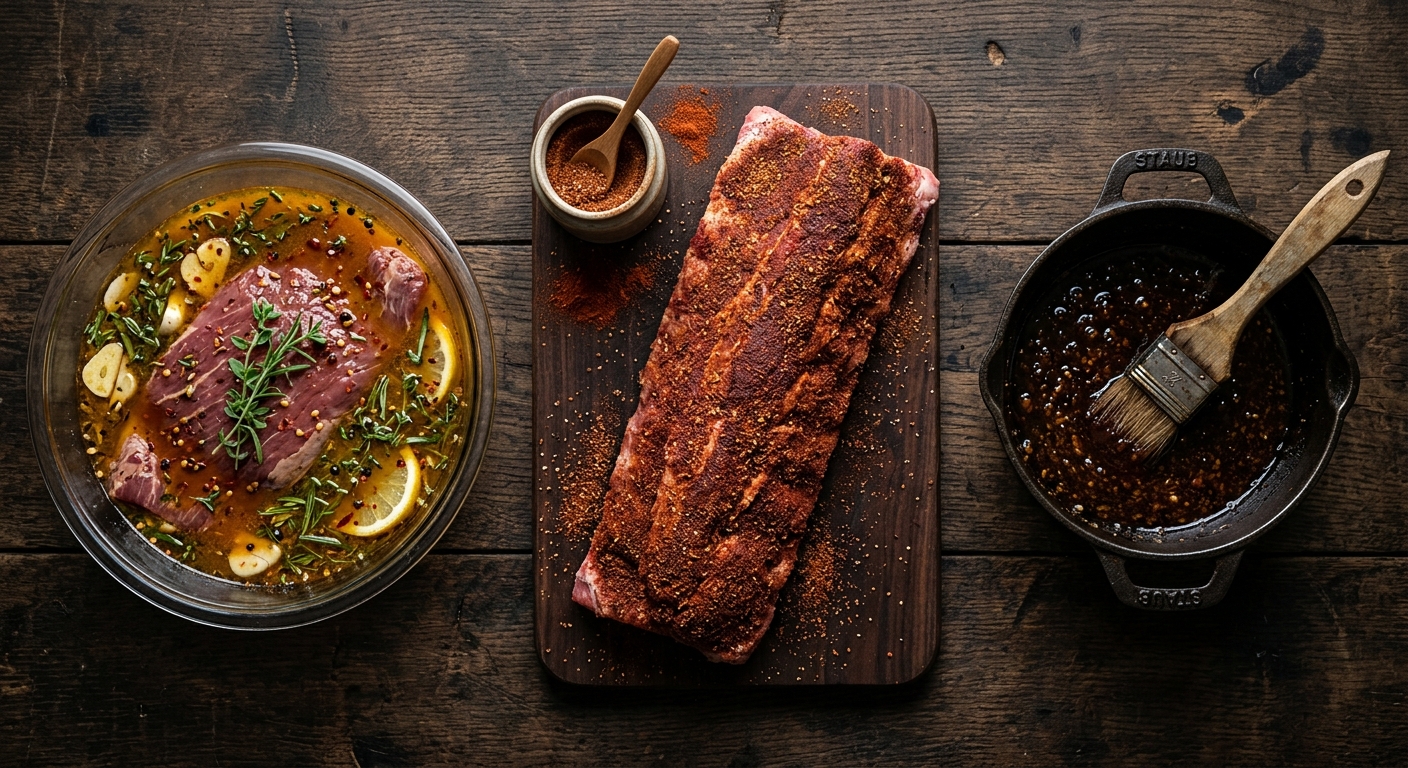
- Clean the chicken pieces and pat them dry with paper towels.
- Season the chicken with sea salt and black pepper, then place them in a large bowl.
- Pour buttermilk over the chicken, ensuring all pieces are coated. Cover and refrigerate to marinate for at least 30 minutes, preferably overnight, for the best flavor.
- Mix the plain flour with smoked paprika, garlic powder, and cayenne pepper in a separate bowl. Season with a pinch of salt and black pepper.
- Heat the soy or corn oil in a deep fryer or a large, deep skillet to 350°F (175°C).
- Take the chicken from the buttermilk and dredge each piece in the seasoned flour mixture until well coated.
- Carefully place the chicken pieces in the hot oil and fry until golden brown and cooked through, about 15-18 minutes, depending on the size of the pieces. Ensure the oil temperature is maintained and the chicken is turned occasionally for even cooking.
- Once cooked, transfer the chicken to a wire rack set over a baking sheet to drain excess oil. Season lightly with additional sea salt, if desired.
For the Pickled Celery:
- Slice the celery into thin strips and set aside.
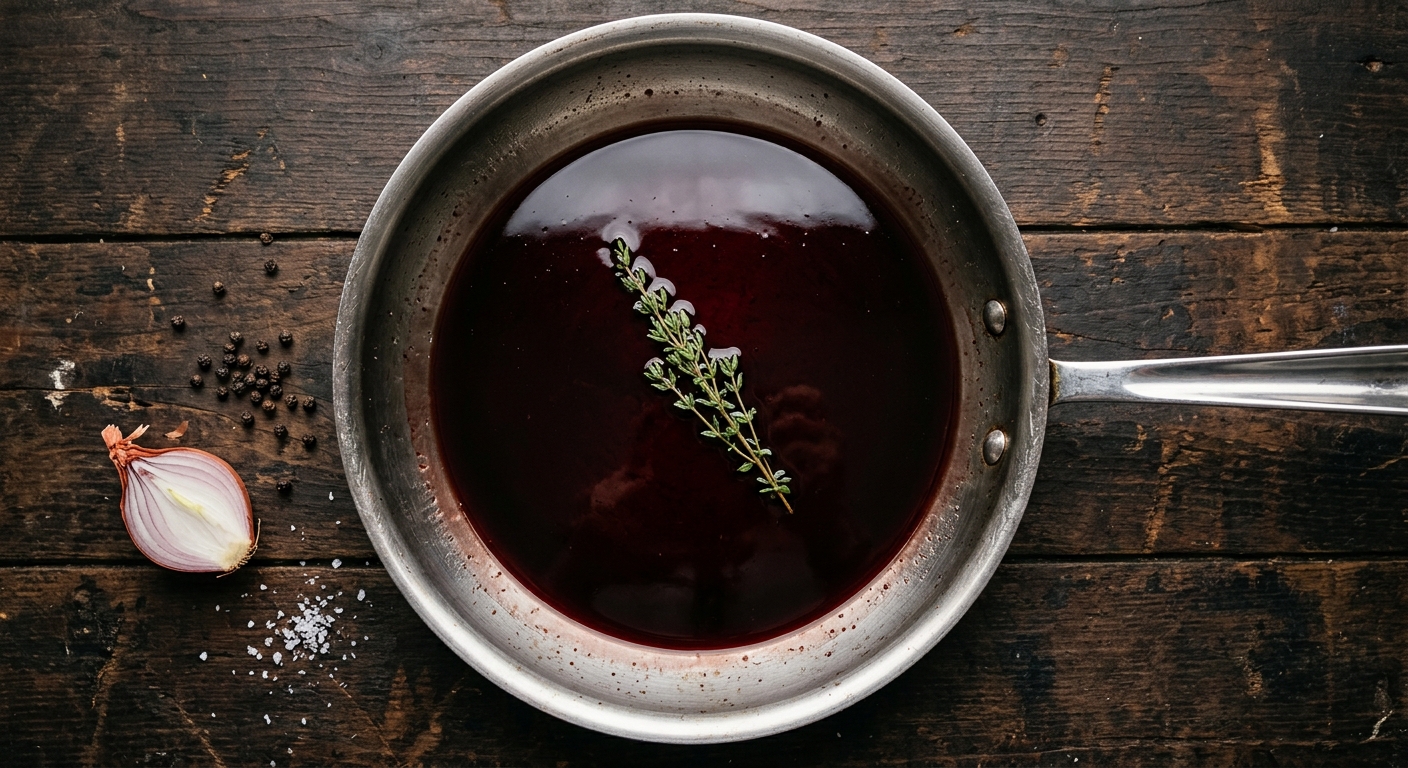
- In a saucepan, combine white sugar, wine vinegar, garlic cloves, mustard seeds, and black peppercorns. Add a pinch of sea salt.
- Bring the mixture to a boil, then reduce the heat and simmer until the sugar has dissolved.
- Pour the hot pickling liquid over the celery, ensuring the pieces are submerged.
- Allow the celery to cool in the liquid, then cover and refrigerate until ready to serve. The pickled celery can be made in advance and will develop more flavor as it sits.
Serving Suggestion:
- Serve the crispy fried chicken hot with a side of the tangy pickled celery. The pickles’ freshness will complement the fried chicken’s richness, making for a balanced and flavorful dish.
Notes
Do you do egg or flour first for fried chicken?
For fried chicken, you typically dredge the chicken in flour first. This initial flour coating helps the egg wash stick better to the chicken. After the chicken is coated in flour, dip it into the beaten egg and then back into the flour or a flour-spice mixture for a second coating. This process helps create a more substantial and crispier breading once fried.
What is the secret to good fried chicken?
The secret to good fried chicken lies in several key factors:
- Marination: Soaking the chicken in a seasoned marinade or buttermilk tenderizes the meat and infuses it with flavor.
- Seasoning: A well-seasoned flour mixture or batter is crucial for a flavorful crust. Use spices and herbs such as paprika, garlic powder, salt, and black pepper.
- Breading: A thorough coating in flour or batter ensures a crispy exterior. Some cooks swear by double-dipping for extra crunch.
- Temperature Control: The oil should be heated to and maintained at the right temperature, usually between 350°F and 375°F (175°C to 190°C). If it’s too cold, the chicken will absorb too much oil and be greasy; if it’s too hot, it will burn on the outside before the inside is cooked.
- Cooking Time: Chicken pieces should be cooked until golden brown and reach an internal temperature of 165°F (74°C).
- Resting: Let the chicken rest on a wire rack after frying to allow excess oil to drain off and keep the skin crispy.
Why put chicken in milk before frying?
Soaking chicken in milk or, more commonly, in buttermilk before frying serves several purposes:
- Tenderization: The mild acids in milk or buttermilk help break down the proteins in the chicken, resulting in more tender meat.
- Moisture: The milk helps keep the chicken moist during the frying process.
- Flavor: Milk can be infused with various seasonings and spices, which are then absorbed by the chicken, enhancing its flavor.
- Breading Adhesion: The liquid helps the flour or breading mixture adhere better to the chicken, resulting in a more even and crisp coating.
How do you fry chicken correctly?
To fry chicken correctly, follow these steps:
- Marinate or Brine: Soak the chicken in a marinade or buttermilk seasoned with your choice of spices for several hours or overnight in the refrigerator.
- Dredge the Chicken: Remove the chicken from the marinade and dredge it in seasoned flour. After the first flour coating, dip it into an egg wash for a thicker crust, and then dredge it in flour again.
- Heat the Oil: Heat the oil to the correct temperature (350°F to 375°F / 175°C to 190°C) in a deep fryer or large pot.
- Fry in Batches: Fry the chicken pieces in batches to avoid overcrowding, which can lower the oil’s temperature and cause the chicken to become greasy.
- Maintain Oil Temperature: Monitor and adjust the heat as needed to keep the oil at a steady temperature.
- Cook Thoroughly: Fry the chicken until it is golden brown and cooked through, reaching an internal temperature of 165°F (74°C).
- Drain and Rest: Place the fried chicken on a wire rack over a sheet pan to drain off excess oil and maintain crispiness. Let it rest for a few minutes before serving.
Summing Up
Bringing this tasty tutorial to a close, remember that the perfect fried chicken is about more than just steps and ingredients. It’s about putting a bit of yourself into the dish. Now that you’ve got Gordon Ramsay’s top Fried Chicken tips in your back pocket, you’re ready to take on the challenge and make a batch of fried chicken that will have everyone talking.
Cooking is an adventure that’s as much about the journey as the delicious destination, so get out there and start sizzling! Whether cooking for a big family dinner or just spicing up your weekday meals, your kitchen is set to become the hottest spot in town. Happy frying, and let every bite bring joy to your table!