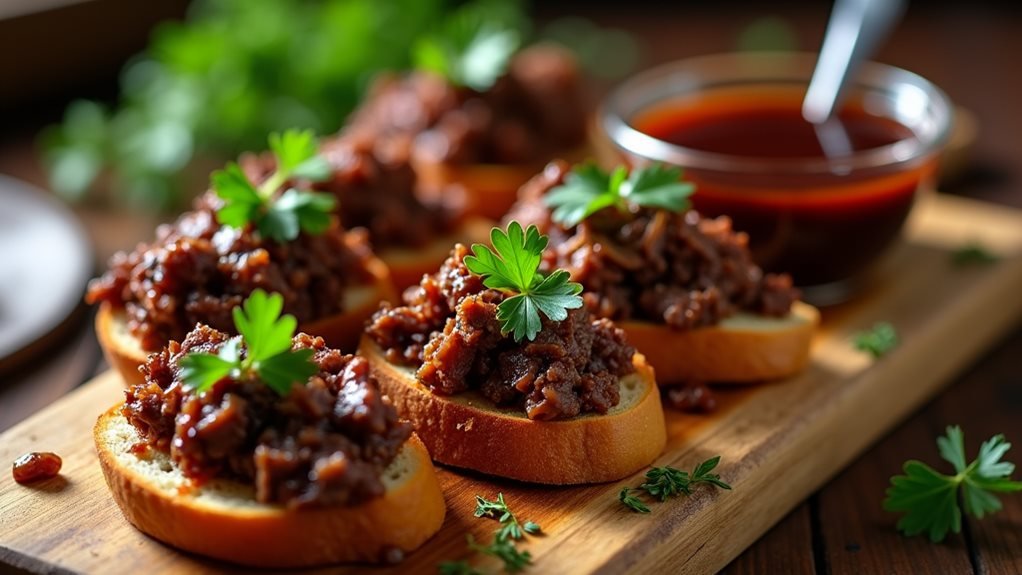
When you’re seeking to take your holiday gathering from typical to exceptional, these Hell’s Kitchen-inspired finger foods will set the perfect tone. You’ll learn how to transform traditional appetizers into upscale bites that embody the essence of fine dining while retaining the casual ease of party fare. From pan-seared scallops to glazed short rib crostini, each dish carries the sophisticated touch that’s made Gordon Ramsay’s culinary empire renowned. Whether you’re a seasoned home cook or an ambitious host, these ten enhanced appetizers will assist you in creating a memorable start to your holiday celebration.
Pan-Seared Scallop Bites
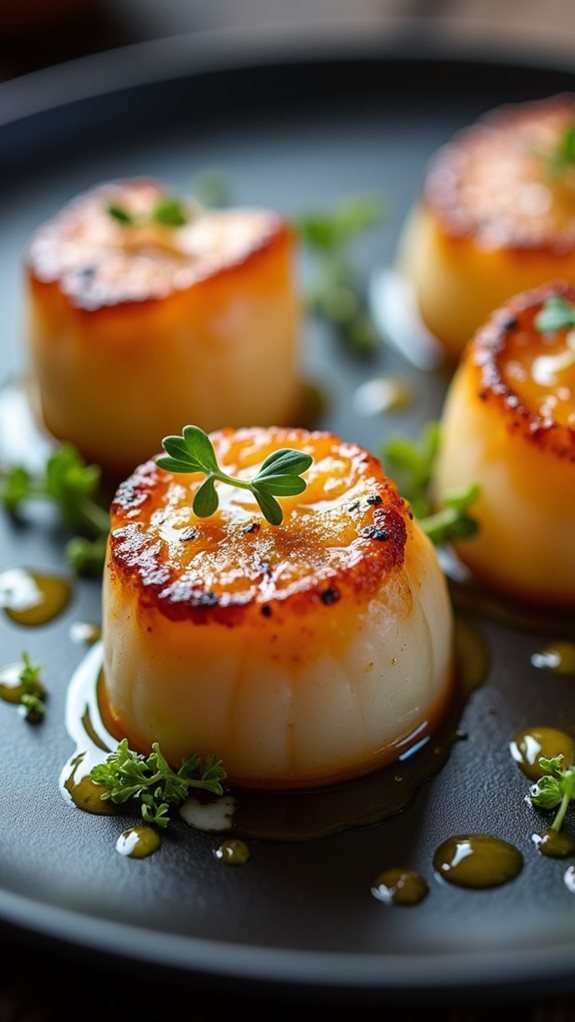
Pan-fried scallop bites are a sophisticated starter that perfectly captures the elegance of Hell’s Kitchen-style cuisine. These juicy bites of seafood are pan-fried to create a lovely golden crust while maintaining a soft, almost see-through center that dissolves in your mouth.
The key to achieving top-notch scallop bites lies in correct preparation and timing. Fresh, dry-stored scallops are indispensable for achieving the ideal sear, and when combined with a mild citrus sauce or herb butter, they transform into an irresistible finger food that will wow any visitor.
Taking inspiration from the Gordon Ramsay’s Pub & Grill at Caesars Palace, these scallops deliver the same high-end dining experience in a casual, party-friendly format.
- 12 large ocean scallops (dry-stored)
- 2 tablespoons olive oil
- 2 tablespoons unsalted butter
- 1 lemon
- Salt and black pepper
- 2 cloves garlic, minced
- Fresh thyme sprigs
- 1/4 cup white wine
- Microgreens for decoration
Eliminate the tiny side muscle from the scallops and dry them thoroughly with paper towels. Season both sides with salt and pepper. Heat oil and butter in a large stainless steel skillet over medium-high heat until shimmering. Place scallops in the skillet, ensuring they aren’t touching each other, and fry for 90 seconds on each side until golden brown. Add garlic, thyme, and white wine in the final 30 seconds. Remove from heat and finish with a squeeze of lemon juice. Serve immediately on small plates or cocktail picks, adorned with microgreens.
For optimal outcomes, make sure scallops are at room temperature before cooking, and never overcrowd the skillet as this will hinder proper frying. The skillet must be very hot before adding the scallops, and resist the temptation to move them while cooking. If the scallops release excessive liquid while cooking, they weren’t dried properly or were previously frozen, which can impact the final frying quality.
Mini Beef Wellington
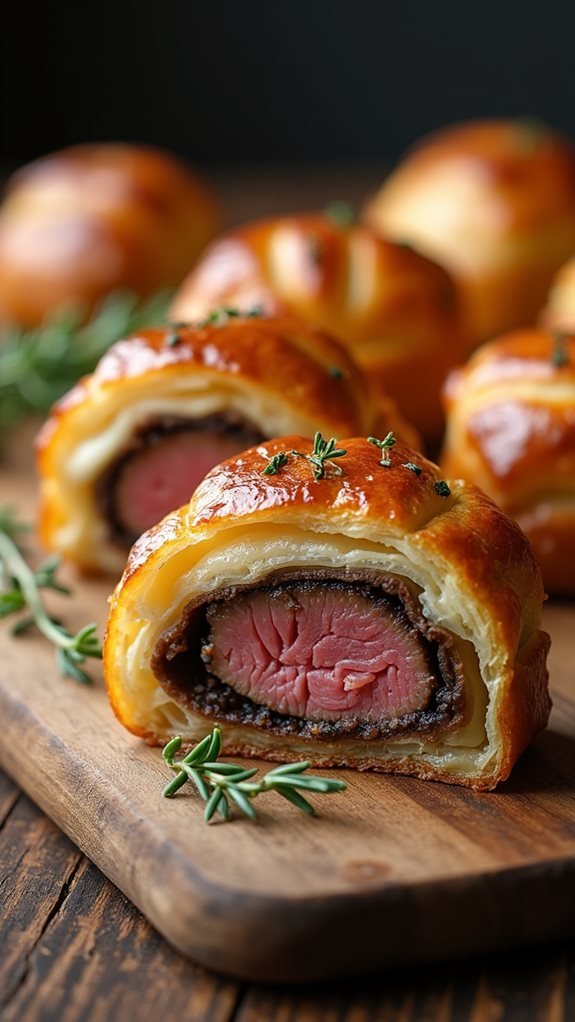
Mini Beef Wellingtons are an elegant adaptation of Gordon Ramsay’s signature dish, perfect for cocktail parties and upscale gatherings. These bite-sized versions maintain all the luxurious elements of the classic – tender beef, rich mushroom duxelles, and buttery puff pastry – while offering a more manageable portion size.
The key to perfect Mini Beef Wellingtons lies in the quality of ingredients and precise temperature control. The beef must be seared properly to develop a flavorful crust while maintaining a rare center, and the mushroom duxelles should be cooked until completely dry to prevent soggy pastry. Like his famous French croissants, Ramsay emphasizes that maintaining proper temperature control is crucial to prevent butter from melting into the pastry layers.
- 1 pound beef tenderloin, cut into 1-inch cubes
- 1 package puff pastry, thawed
- 8 ounces mushrooms, finely chopped
- 2 shallots, minced
- 4 cloves garlic, minced
- 2 tablespoons fresh thyme
- 2 tablespoons Dijon mustard
- 4 tablespoons olive oil
- 2 egg yolks (for egg wash)
- Salt and black pepper to taste
- Prosciutto slices
- 2 tablespoons butter
Season beef cubes with salt and pepper, then sear in hot oil until browned on all sides. Remove and chill. Make duxelles by cooking mushrooms, shallots, and garlic with thyme until moisture evaporates. Cool completely.
Roll out puff pastry and cut into squares. Layer each square with prosciutto, spread duxelles, brush beef with mustard, and wrap in pastry. Brush with egg wash, score decoratively, and bake at 400°F for 20-25 minutes until golden brown.
For best results, confirm all components are completely cool before assembly to prevent the pastry from becoming soggy. The beef can be seared up to 24 hours in advance, and the duxelles can be prepared a day ahead. Always use a meat thermometer to achieve the desired doneness, and allow the wellingtons to rest for 5 minutes before serving to prevent the juices from running out when cut.
Lobster Mac and Cheese Cups
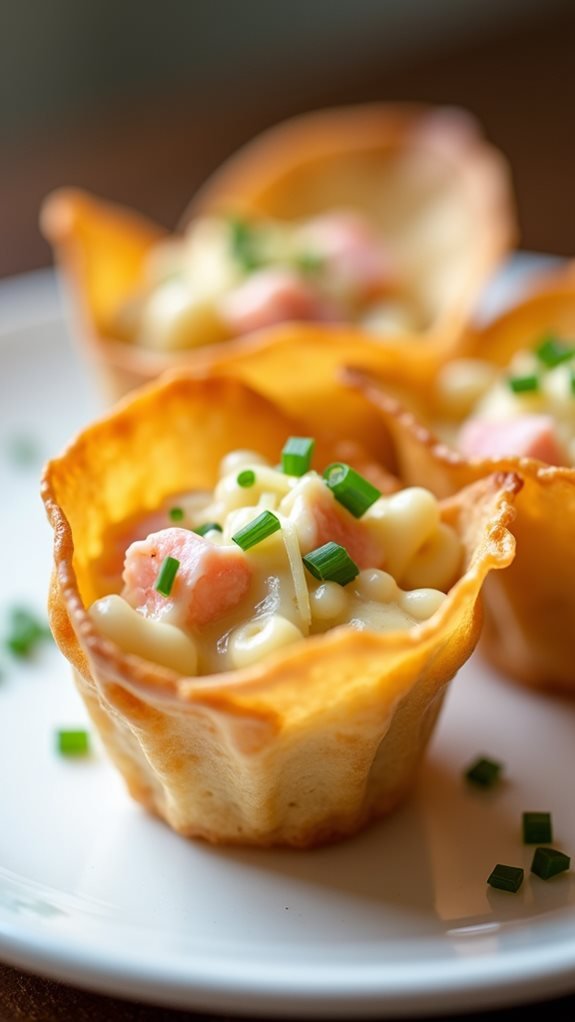
Lobster Mac and Cheese Cups combine the decadence of fresh lobster with creamy, cheesy pasta, all served in a crispy wonton wrapper cup. This elegant finger food transforms the classic comfort dish into a sophisticated bite-sized appetizer that’s perfect for upscale parties and special occasions.
This dish pays homage to Chef Gordon Ramsay’s refined comfort food style, featuring tender chunks of lobster meat folded into a rich blend of sharp cheddar, gruyere, and mascarpone cheese sauce. The wonton wrapper creates a delicate yet robust vessel that adds a satisfying crunch to each bite.
- 1 pound cooked lobster meat, chopped
- 8 ounces elbow macaroni
- 1 cup sharp cheddar cheese, grated
- 1 cup gruyere cheese, grated
- 1/2 cup mascarpone cheese
- 2 cups whole milk
- 3 tablespoons butter
- 3 tablespoons all-purpose flour
- 1/2 teaspoon paprika
- 1/4 teaspoon cayenne pepper
- 1 teaspoon garlic powder
- 24 wonton wrappers
- Salt and black pepper to taste
- Chives for garnish
Preheat oven to 375°F and press wonton wrappers into greased mini muffin tins, baking until golden brown. Cook macaroni al dente according to package instructions. Make a roux with butter and flour, gradually whisking in milk until thickened. Add cheeses, stirring until melted and smooth. Season with spices, fold in lobster meat and cooked pasta. Fill wonton cups with the mixture, top with extra cheese, and bake until bubbly and golden, about 10-12 minutes.
For best results, prepare the wonton cups in advance and store in an airtight container until ready to fill. Ensure the lobster meat is well-drained to prevent soggy cups, and don’t overfill the wonton wrappers as the cheese sauce will bubble and expand during baking. These can be assembled up to 2 hours before serving and reheated briefly in a 350°F oven.
Risotto Arancini Balls
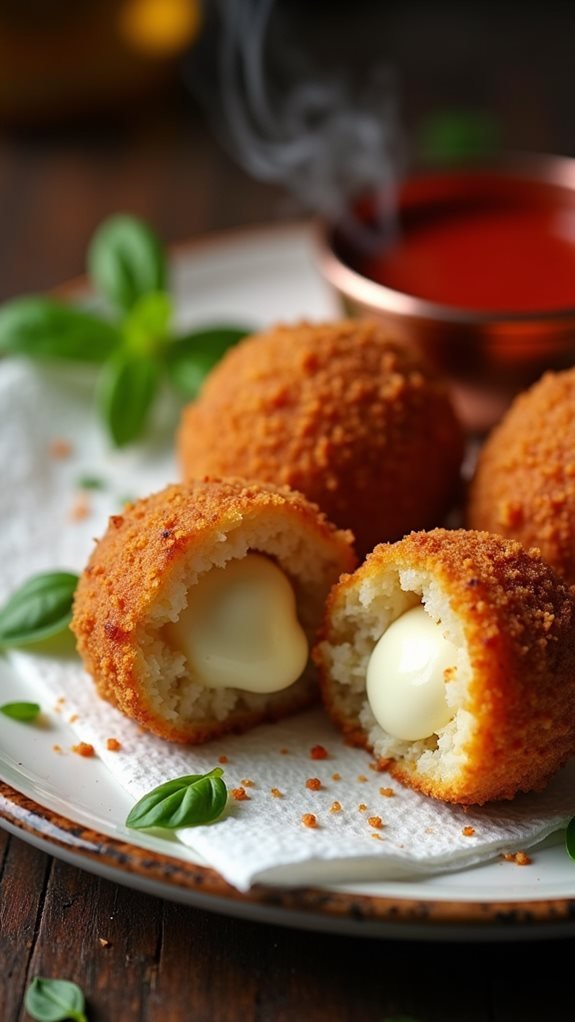
Arancini balls are a traditional Italian street food that turns leftover risotto into crispy, golden spheres of pure comfort. These bite-sized delights feature a crunchy breadcrumb exterior that leads to creamy risotto and a molten cheese center, making them perfect for entertaining or as an upscale appetizer.
Originally from Sicily, these rice balls have become a staple in contemporary cuisine, particularly popularized by shows like Hell’s Kitchen. The charm of arancini lies in their versatility – they can be made with different risotto flavors and filled with diverse combinations of cheese, meat, or vegetables, allowing for endless creative possibilities.
Ingredients:
- 3 cups prepared risotto, cooled
- 4 ounces mozzarella cheese, cubed
- 2 large eggs, beaten
- 1 cup all-purpose flour
- 2 cups Italian-style breadcrumbs
- 1/2 cup grated Parmesan cheese
- Salt and black pepper to taste
- Vegetable oil for deep frying
- Fresh basil for garnish
- Marinara sauce for serving
Shape the cooled risotto into golf ball-sized portions, creating a hollow in each to stuff with a cube of mozzarella. Enclose the rice around the cheese and shape into a perfect ball. Set up a breading station with three shallow dishes: flour, beaten eggs, and breadcrumbs combined with Parmesan. Coat each ball in flour, dip in egg, then coat with the breadcrumb mixture.
Heat oil to 350°F (175°C) and fry the balls in batches until golden brown, about 3-4 minutes. Drain on paper towels and serve hot with marinara sauce.
For optimal outcomes, make sure the risotto is completely cooled before shaping the balls, as warm risotto will be too sticky to handle. The balls can be prepared in advance and refrigerated for up to 24 hours before frying. If the balls begin to disintegrate during frying, they might require additional time in the refrigerator to solidify. Always test the oil temperature with one ball initially to guarantee proper cooking and avoid oily results.
Spicy Tuna Tartare Crisps
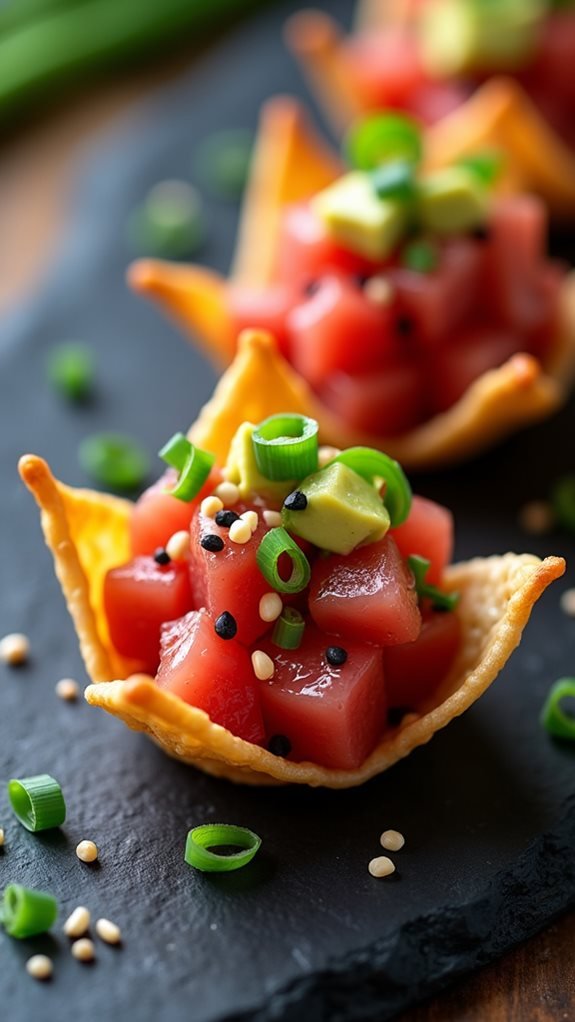
Spicy tuna tartare served on crispy wonton chips combines the elegant simplicity of fresh sushi-grade tuna with a satisfying crunch. This appetizer brings together the rich umami of raw tuna, the heat of sriracha, and the delicate crispiness of fried wonton wrappers.
Drawing inspiration from Hell’s Kitchen’s sophisticated presentations, this dish enhances the classic tuna tartare by incorporating Asian flavors and adding textural contrast. The combination of fresh citrus, soy sauce, and sesame oil creates a perfectly balanced bite that’s both invigorating and savory.
- 1 pound sushi-grade tuna, finely diced
- 2 tablespoons soy sauce
- 1 tablespoon sesame oil
- 2 tablespoons sriracha sauce
- 1 lime, juiced
- 2 tablespoons finely chopped chives
- 1 tablespoon toasted sesame seeds
- 24 wonton wrappers
- Vegetable oil for frying
- 1 avocado, finely diced
- Salt and black pepper to taste
Cut the tuna into small, uniform cubes and combine with soy sauce, sesame oil, sriracha, and lime juice in a mixing bowl. Meanwhile, heat vegetable oil to 350°F and fry wonton wrappers until golden brown, about 30 seconds per side.
Once cooled, top each crisp with a spoonful of tuna mixture, garnish with diced avocado, sesame seeds, and chives. Serve immediately.
For optimal results, make sure the tuna remains well-chilled until serving and prepare the wonton crisps no more than two hours in advance to maintain their crispiness. If preparing in advance, store the tuna mixture and crisps separately, assembling just before serving to prevent the crisps from becoming soggy.
Crispy Pork Belly Squares
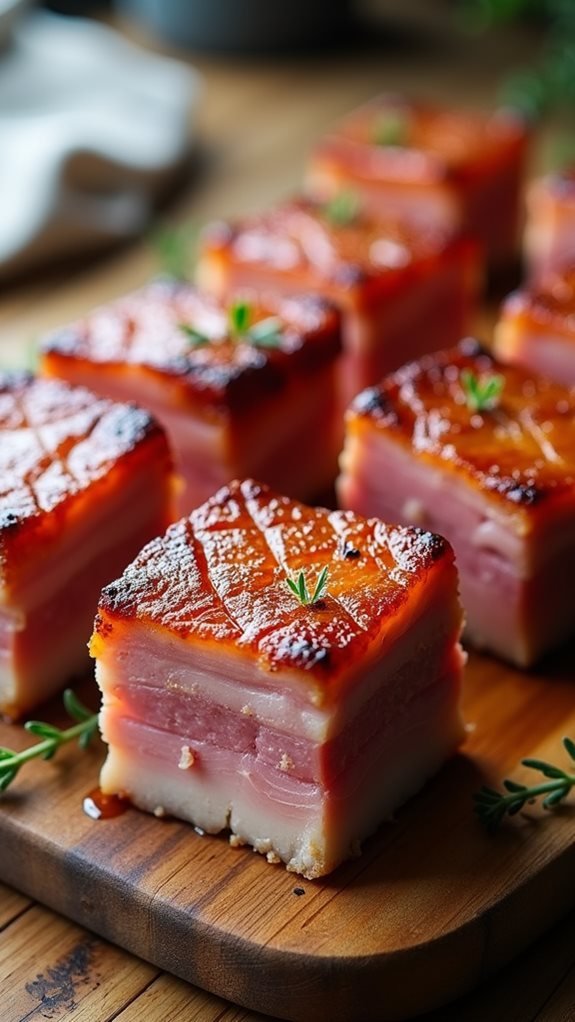
Crispy pork belly has been a staple in upscale dining establishments, and prominently showcased in Hell’s Kitchen, where contestants often face challenges in achieving the ideal balance of tender meat and crispy skin. This dish elevates the traditional whole pork belly into refined, bite-sized squares that offer a remarkable blend of textures and flavors in a single bite.
The key to attaining top-notch pork belly squares at home lies in the preparation and cooking technique. The meat must be appropriately scored and dried, then slowly cooked to render the fat before crisping it up at high heat for that distinctive crunchy exterior. When executed correctly, each square boasts a golden-brown crust that yields juicy, tender meat.
- 2 lbs pork belly, with skin
- 2 tablespoons kosher salt
- 1 tablespoon Chinese five spice
- 1 teaspoon white pepper
- 1 tablespoon olive oil
- 4 garlic cloves, smashed
- 2 bay leaves
- 1 cup chicken broth
Score the pork belly skin in a crosshatch pattern, then season with salt and refrigerate uncovered overnight. The following day, preheat oven to 325°F. Season the meat side with five spice and white pepper. Place the pork skin-side up in a roasting pan with garlic, bay leaves, and broth. Roast for 2.5 hours, then increase temperature to 450°F for 30 minutes until the skin turns crispy. Allow it to rest for 20 minutes before cutting into 1-inch squares.
For optimal outcomes, make sure the skin is completely dry before cooking, as moisture can hinder the crispiness. If the skin isn’t crisping up enough during the final high-heat phase, you can broil it for 2-3 minutes, keeping a close eye to prevent burning. Allow the meat to reach room temperature before cooking, and always let it rest before slicing to ensure proper redistribution of juices throughout the meat.
Seared Lamb Lollipops
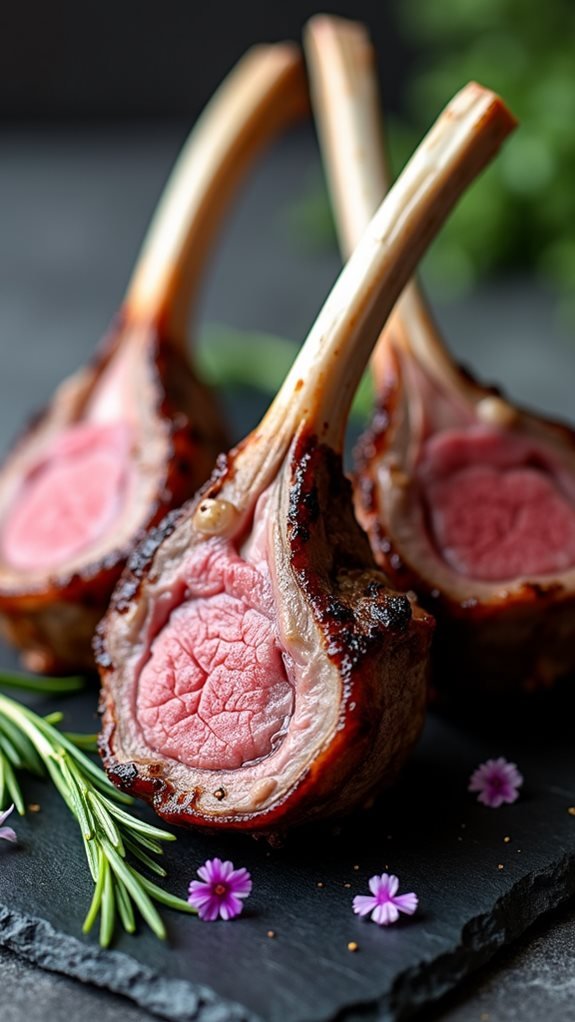
Seared lamb lollipops are an important yet approachable appetizer that brings the drama and elegance of Hell’s Kitchen right to your home entertaining. These perfectly frenched lamb chops are often featured on the show for their striking presentation and ability to showcase a chef’s precise timing and technique.
The key to exceptional lamb lollipops lies in achieving that perfect medium-rare interior while developing a flavorful crust on the outside. This dish combines fresh herbs, garlic, and a careful searing process to create tender, juicy meat that guests can pick up and enjoy with minimal fuss.
- 8 frenched lamb rib chops
- 3 cloves garlic, minced
- 2 tablespoons fresh rosemary, chopped
- 2 tablespoons fresh thyme, chopped
- 2 tablespoons olive oil
- 1 tablespoon kosher salt
- 1 teaspoon black pepper
- 2 tablespoons vegetable oil for searing
- 1 tablespoon butter
Remove lamb chops from refrigerator 30 minutes before cooking. Mix garlic, rosemary, thyme, olive oil, salt, and pepper to create a paste, then coat the lamb chops evenly. Heat vegetable oil in a cast-iron skillet over high heat until smoking. Sear lamb chops for 3-4 minutes per side for medium-rare, adding butter during the final minute. Let rest for 5-7 minutes before serving, garnished with additional fresh herbs.
Temperature control is essential when cooking lamb lollipops. The meat should reach an internal temperature of 135°F (57°C) for medium-rare but will continue cooking during the resting period. Avoid overcrowding the pan, as this will prevent proper searing. If cooking for a larger group, work in batches and keep finished chops warm in a low-temperature oven until ready to serve.
Crab Cake Sliders
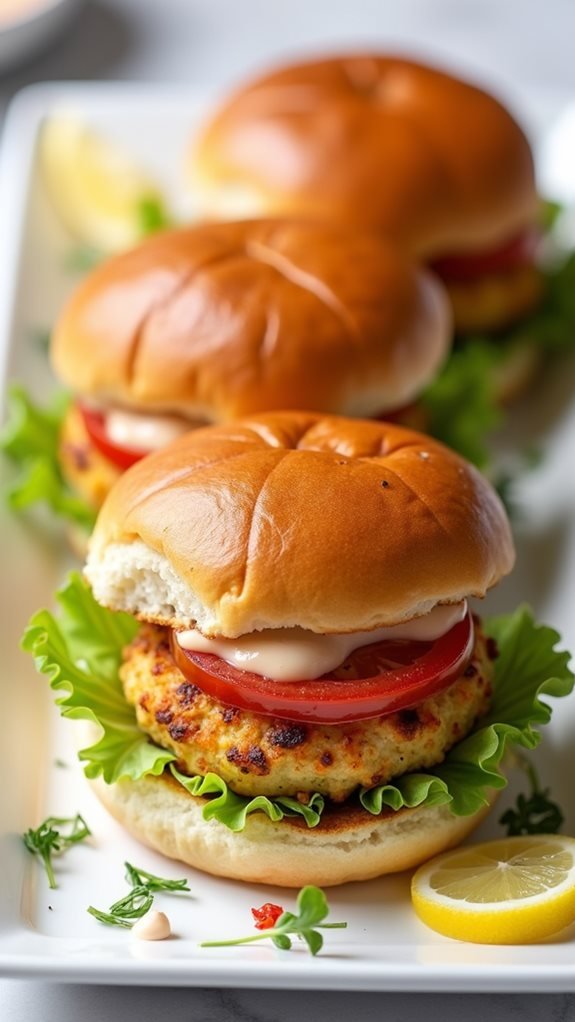
Crab cake sliders combine the elegance of traditional crab cakes with the casual appeal of miniature burgers. These delectable appetizers feature perfectly seasoned lump crab meat, formed into small patties and pan-seared until golden brown, then tucked between soft slider buns with a zesty remoulade sauce.
This dish pays homage to the upscale seafood preparations often seen in Hell’s Kitchen while making it approachable for home cooks. The key to exceptional crab cake sliders lies in using high-quality lump crab meat and maintaining a light touch when forming the patties to preserve the meat’s delicate texture.
- 1 pound lump crab meat
- 1/3 cup mayonnaise
- 1 large egg
- 1 tablespoon Dijon mustard
- 1 tablespoon Worcestershire sauce
- 1/4 cup finely diced red bell pepper
- 1/4 cup finely diced celery
- 1/3 cup panko breadcrumbs
- 1 teaspoon Old Bay seasoning
- 1/2 teaspoon kosher salt
- 1/4 teaspoon black pepper
- 2 tablespoons vegetable oil
- 12 slider buns
- Butter lettuce leaves
- Sliced tomatoes
- Remoulade sauce
Gently pick through the crab meat to remove any shell fragments, being careful not to break up the lumps. In a large bowl, whisk together mayonnaise, egg, mustard, and Worcestershire sauce. Fold in the vegetables, breadcrumbs, and seasonings until well combined. Add the crab meat and gently fold until just mixed. Form into 12 small patties and refrigerate for 30 minutes.
Heat oil in a large skillet over medium heat and cook patties for 3-4 minutes per side until golden brown. Serve on buttered and toasted slider buns with lettuce, tomato, and remoulade sauce.
When handling the crab mixture, keep your hands slightly wet to prevent sticking and avoid overworking the meat. If the mixture seems too wet, add additional breadcrumbs one tablespoon at a time, but be careful not to add too much as this can make the cakes dense.
These sliders can be made up to 4 hours in advance and kept refrigerated until ready to cook, making them perfect for entertaining.
Truffle Mushroom Tartlets
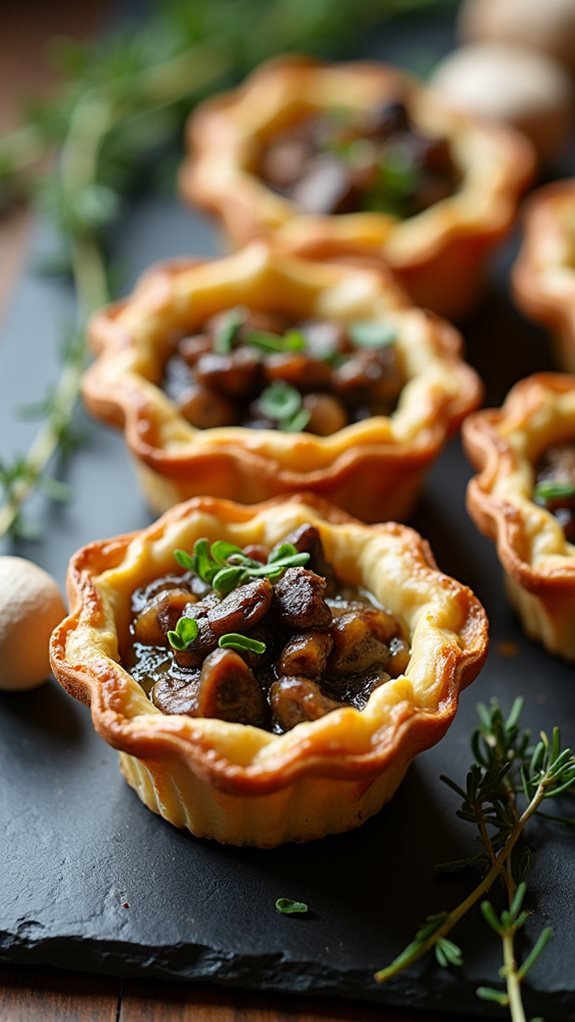
Truffle mushroom tartlets are a sophisticated finger food that combines earthy fungi with the luxurious essence of truffles. These bite-sized delicacies feature a buttery, flaky pastry shell filled with a rich mixture of sautéed mushrooms, herbs, and truffle essence.
These tartlets make an impressive appetizer for any upscale gathering or dinner party. The combination of wild and cultivated mushrooms creates depth of flavor, while the truffle essence adds a distinctive aromatic finish that enhances this dish to restaurant quality status.
- 2 sheets puff pastry, thawed
- 1 pound mixed mushrooms, finely diced
- 3 cloves garlic, minced
- 2 shallots, finely chopped
- 2 tablespoons fresh thyme leaves
- 2 tablespoons butter
- 2 tablespoons olive oil
- 2 tablespoons truffle essence
- 1/4 cup heavy cream
- 1/2 cup grated Parmesan cheese
- Salt and black pepper to taste
- 1 egg beaten with 1 tablespoon water
Preheat oven to 400°F. Cut pastry sheets into 2-inch rounds and press into mini muffin tins. Sauté mushrooms, garlic, and shallots in butter and olive oil until golden brown. Add thyme, heavy cream, and Parmesan, cooking until thickened. Fill pastry shells with mushroom mixture, brush edges with egg wash, and bake for 15-20 minutes until golden brown. Drizzle with truffle essence before serving.
For the best results, ensure all mushrooms are diced to a uniform size for even cooking. The pastry shells can be prepared a day in advance and stored in the refrigerator. When working with truffle essence, add it at the very end of cooking as heat can diminish its flavor.
If the mushroom mixture becomes too dry, add a splash of cream or stock to maintain the desired consistency.
Glazed Short Rib Crostini
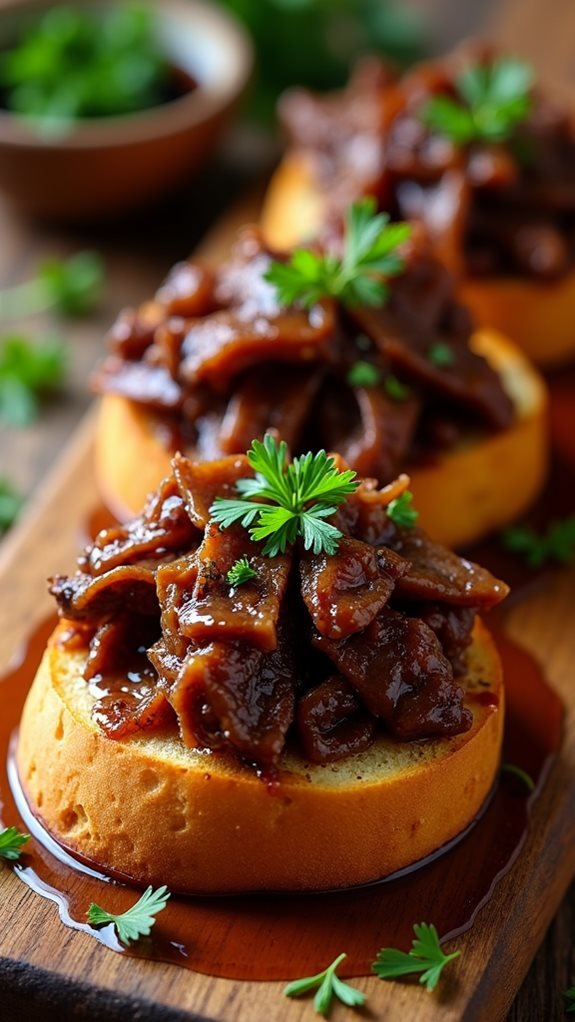
Glazed short ribs transformed into elegant finger food create an impressive appetizer that channels the sophistication of Hell’s Kitchen. The tender, slow-cooked beef pairs perfectly with crusty crostini, while a rich glaze adds depth and complexity to each bite.
This recipe takes the classic comfort of braised short ribs and enhances it to a party-worthy presentation. The meat is cooked until it falls off the bone, then shredded and topped with a reduction of its own braising liquid, creating an intense flavor that sits atop golden-brown toast points.
- 2 lbs beef short ribs
- 1 baguette, sliced diagonally
- 2 cups red wine
- 4 cups beef stock
- 2 carrots, diced
- 2 celery stalks, diced
- 1 onion, diced
- 4 garlic cloves, minced
- 2 sprigs fresh thyme
- 2 bay leaves
- 3 tablespoons olive oil
- Salt and pepper to taste
- Fresh parsley for garnish
Season the short ribs generously with salt and pepper, then sear in olive oil until browned on all sides. Remove the meat and sauté the vegetables until softened. Add wine and reduce by half, then return the meat to the pot with stock and herbs. Simmer covered for 2.5-3 hours until tender.
Meanwhile, brush baguette slices with olive oil and toast until golden. Shred the meat, reduce the braising liquid until syrupy, and combine with the meat. Top each crostini with the glazed short rib mixture and garnish with parsley.
For best results, make the short ribs a day ahead and refrigerate overnight – this allows the flavors to develop and makes it easier to remove excess fat from the braising liquid. The crostini should be made just before serving to maintain crispness, though the bread can be sliced and stored in an airtight container for up to a day. If the glazed meat mixture becomes too thick when reheating, thin it with a small amount of beef stock.
