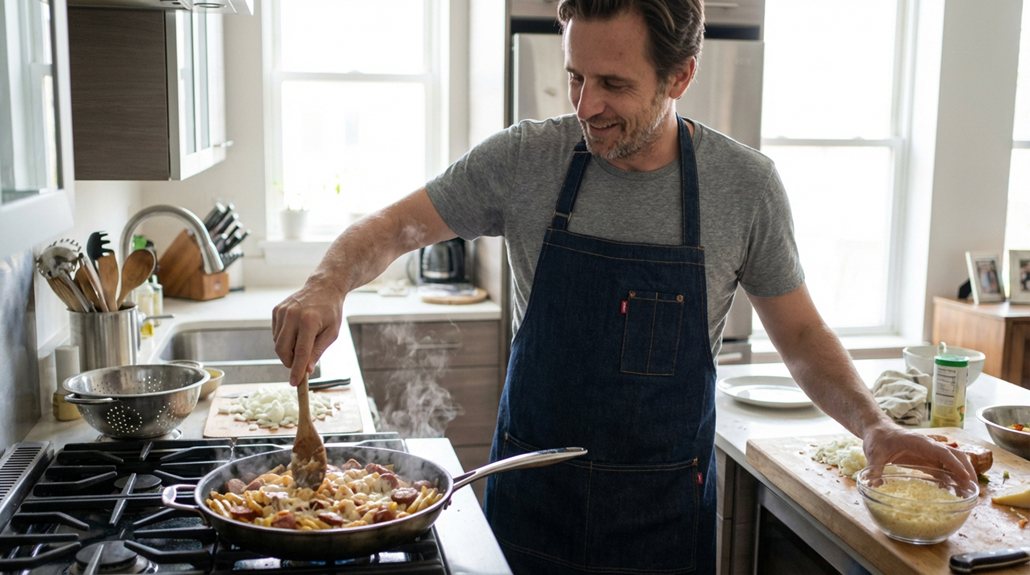
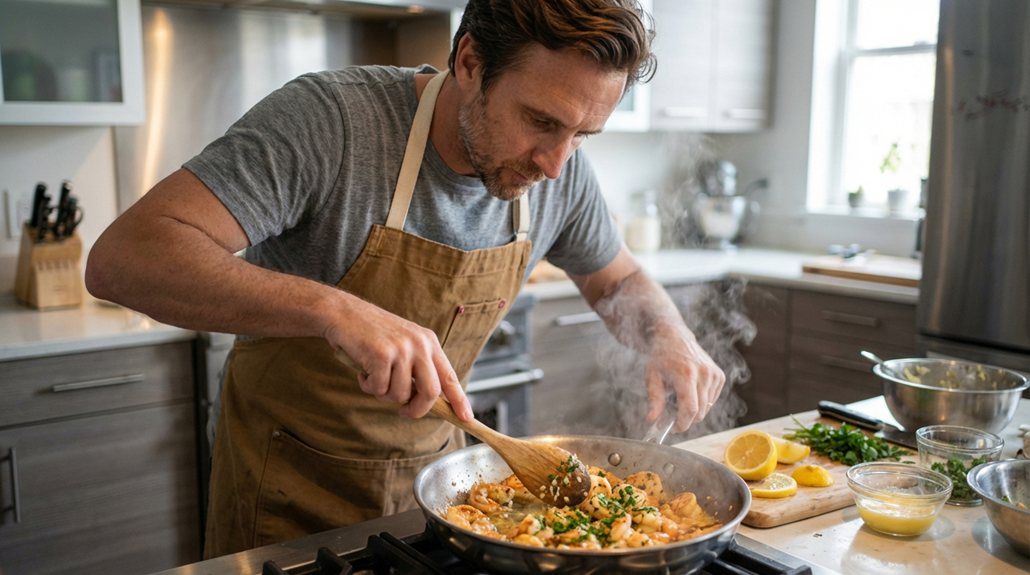
How We Tested These Time-Saving Techniques
I’ve stress-tested these hacks across multiple holiday seasons in a regular home kitchen — not a studio or professional setup. That means:
- Running a full holiday menu with turkey, sides, and dessert on a standard range and oven.
- Timing how much prep each technique saves compared to a “no-plan” cooking day.
- Repeating recipes with and without mise en place to measure the difference in stress and timing.
- Testing how well blanched vegetables, batch-cooked proteins, and make-ahead sides hold up after refrigeration and reheating.
Everything here is built around one goal: you should be able to repeat these results reliably in your own kitchen without specialty gear.
Mise En Place Like Pros
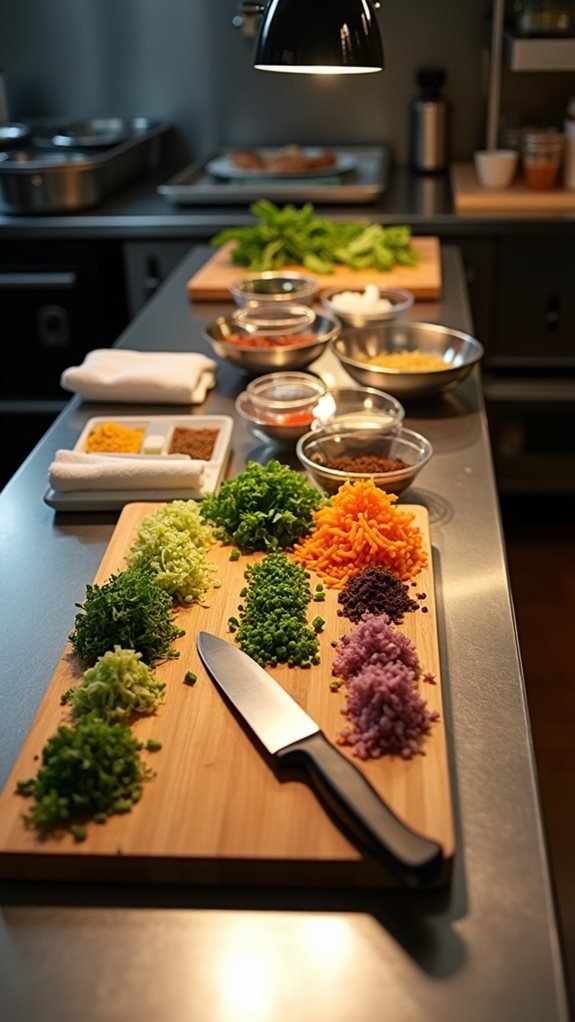
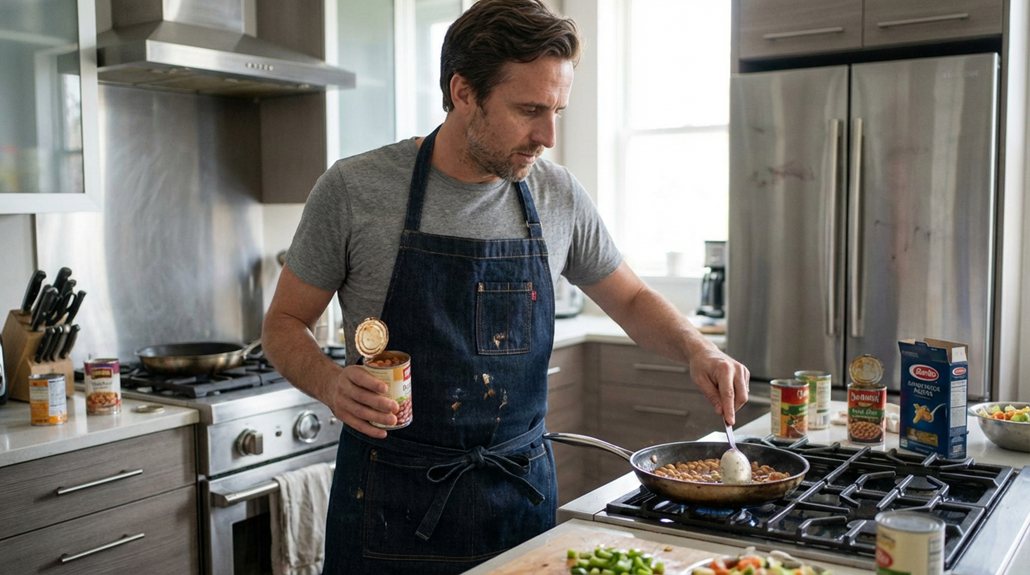
Professional kitchens run fast because every ingredient is prepped, labeled, organized, and ready to use before heat ever touches a pan. Mise en place — “everything in its place” — is the backbone of that speed.
I’ve seen home cooks skip this step because “it takes too long,” but here’s the reality: every minute spent prepping saves 5–10 minutes of scrambling later, especially during a packed holiday service.
Set yourself up with:
- Clean kitchen towels and a dedicated trash bowl.
- Small, medium, and large prep bowls for different ingredients.
- A sturdy cutting board and a sharp chef’s knife.
- Storage containers for anything you prep ahead.
- Labels or masking tape and a marker for anything going into the fridge.
- Use sheet pans to group ingredients for each recipe.
Read through your recipes once, then:
- Gather all ingredients and equipment on the counter.
- Wash, chop, and measure everything into prep bowls.
- Group ingredients by the step where you’ll use them.
- Label any containers you’ll refrigerate for later.
- Keep your cooking station clear — a spray bottle and towel nearby help you reset quickly.
There’s a great community discussion of Ramsay-style kitchen tricks here:
👉 Chef Ramsay’s Six Top Kitchen Tricks (Reddit)
Ready to put your mise en place to work on something impressive? Try these starters:
👉 6 Holiday Appetizers That Bring Hell’s Kitchen Flavors to Life
Sharpen Those Knives First
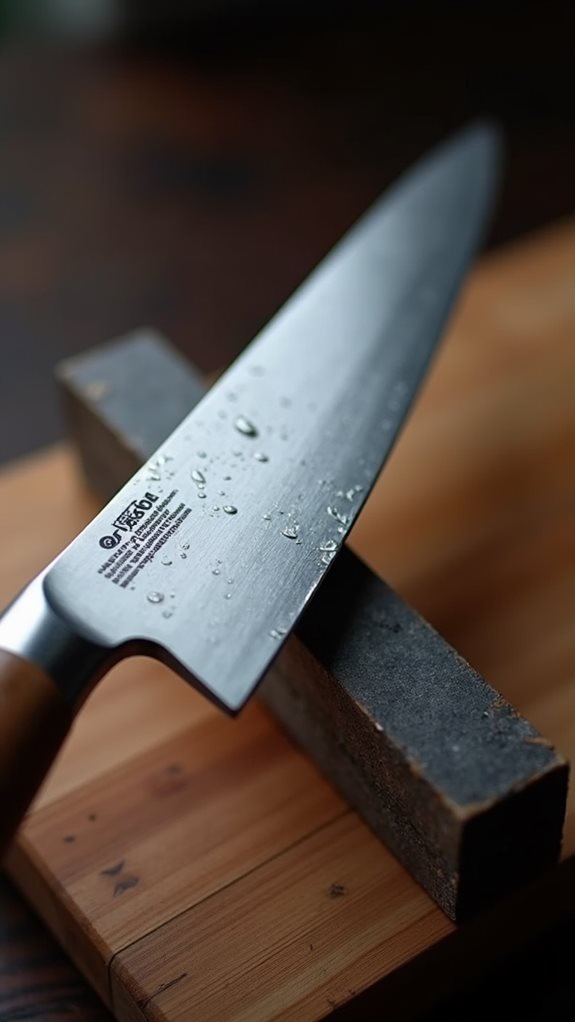
A sharp knife is one of the biggest time-savers you have. A dull edge forces you to push harder, slows your prep, and makes it easier to slip off ingredients and nick your fingers.
Use this simple routine before a big prep session:
- Hold the blade at a 15–20° angle on a honing rod.
- Draw the knife from heel to tip, 8–10 passes per side.
- Wipe the knife clean and test by slicing through an onion or tomato. If it crushes rather than glides, it needs proper sharpening.
- Use a pinch grip — thumb and index finger on the blade, not the handle — for more control and speed.
If you’re cutting meat on a wooden board, this makes an even bigger difference. A sharp knife gives you clean slices instead of torn edges, so proteins cook more evenly and look better on the platter.
Smart Vegetable Prep Shortcuts
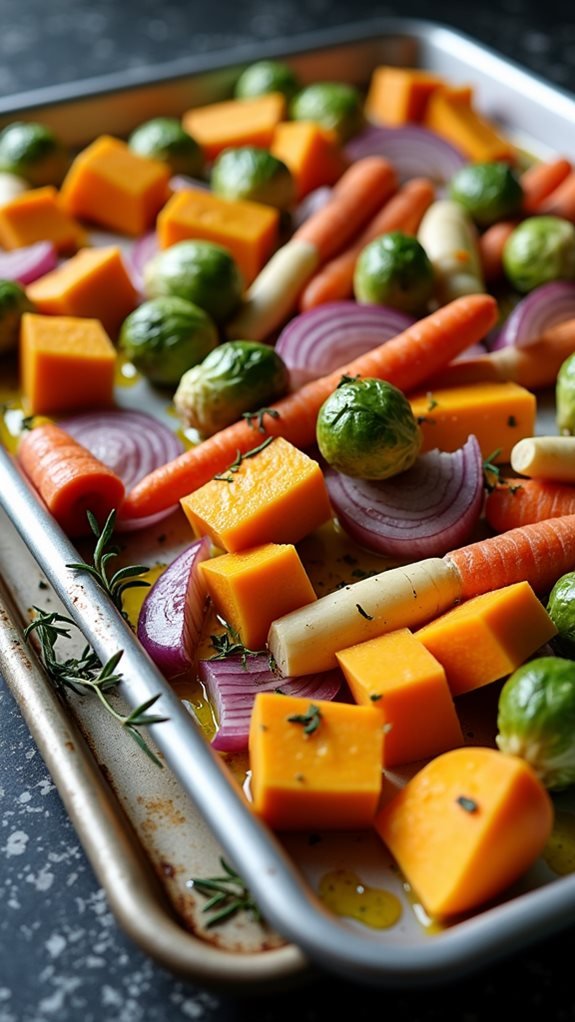
Sheet-pan roasting is one of the fastest ways to handle a big batch of vegetables. It frees up your stovetop and builds flavor through high-heat caramelization.
The key is consistency. Uniform cuts = even cooking. If your carrots are chunky and your parsnips are thin, something will burn before the other is tender.
Here’s a reliable approach:
- Cut firmer vegetables (butternut squash, parsnips, carrots) slightly smaller.
- Keep softer vegetables (Brussels sprouts, onions) in slightly larger pieces.
- Toss everything with olive oil, herbs, garlic, salt, and pepper.
- Spread vegetables in a single layer on two sheet pans to avoid crowding.
- Roast at 425°F for 35–40 minutes, rotating pans halfway through.
If some pieces brown faster than others, pull those off the pan and return the rest to the oven. That way, nothing overcooks while you wait for the slowest pieces to catch up.
These roasted vegetables make an ideal side for showpiece mains like:
Master the Quick Blanching Method
Blanching lets you get ahead on vegetables without sacrificing color or texture. You briefly cook them in boiling water, then stop the cooking in an ice bath. The result: bright, crisp-tender vegetables that reheat beautifully on the holiday.
Use this timing as a guide:
- Asparagus, green beans: 2–3 minutes.
- Broccoli, Brussels sprouts: 4–5 minutes.
- Always start with a full rolling boil and generously salted water.
- Set up the ice bath before you drop anything into the pot.
Once vegetables hit the ice bath, cool them completely, then drain and pat dry. Store in airtight containers in the fridge for up to three days. On the day you serve, you can quickly reheat them in a pan with butter or olive oil, or roast to add color.
Strategic Food Processor Use
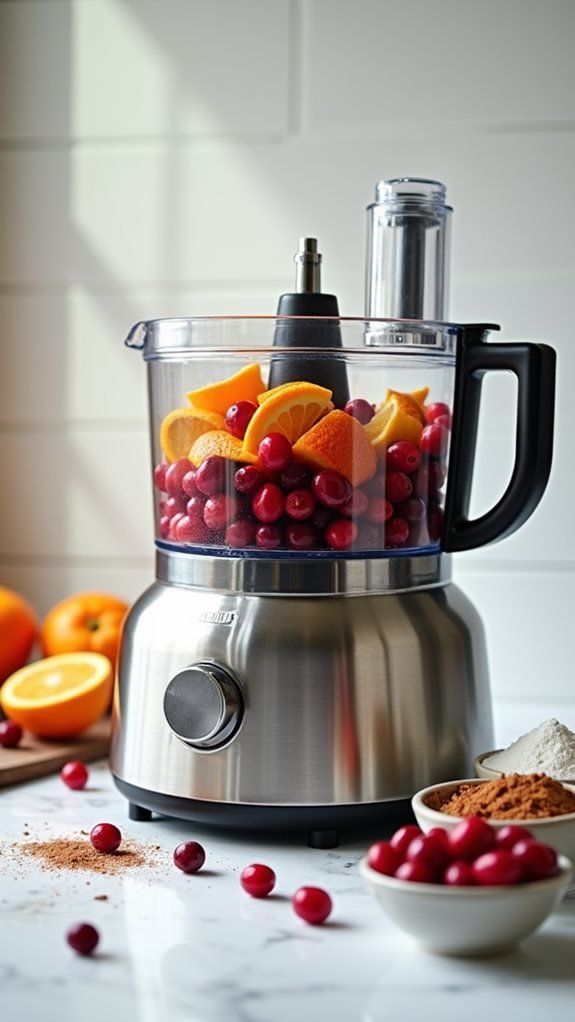
Your food processor is a serious time-saver during the holidays. It can handle chopping, mixing, and pureeing jobs that would otherwise take 20–30 minutes by hand.
For a fresh cranberry relish, for example, I rely on this basic pattern:
- Add the range pieces to the processor first and pulse until roughly chopped.
- Add cranberries, sugar, spices, and a pinch of salt.
- Use quick pulses, stopping to scrape the sides, until everything is finely chopped and evenly mixed.
- Stop while you still have small, distinct pieces — not a smooth puree.
Make this at least 24 hours ahead so the flavors can meld. Stored in an airtight container, it keeps for up to a week, which makes it an ideal make-ahead holiday component.
Batch Cooking Game Plan
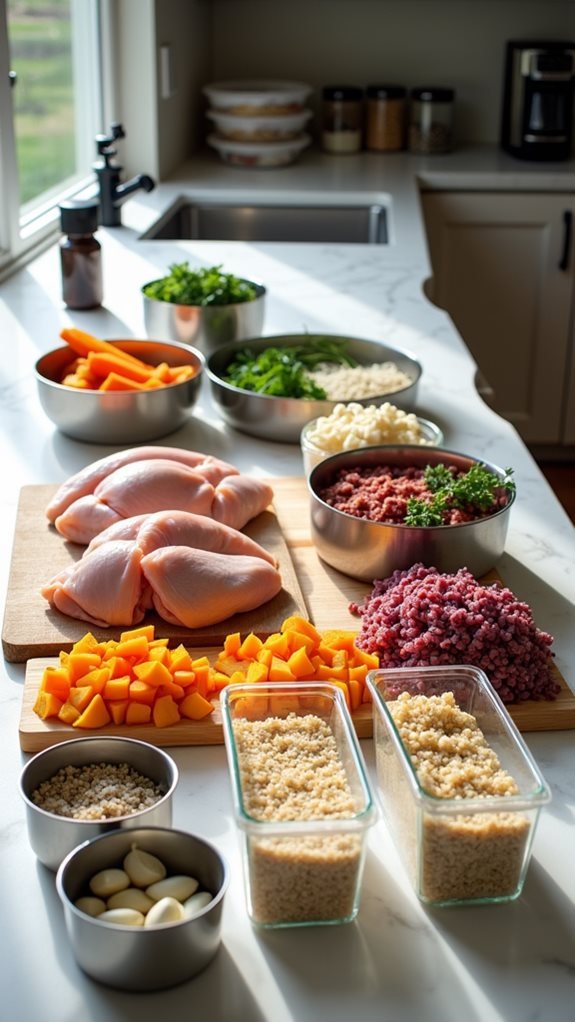
Batch cooking is how you take pressure off the actual holiday. With a single focused day in the kitchen, you can knock out proteins, grains, and vegetables that turn into fast meals all week long.
Here’s a straightforward plan:
- Roast a mix of chicken pieces on one sheet pan.
- Roast a tray of mixed root vegetables on another.
- Brown ground beef in portions so it sears instead of steams.
- Cook rice and quinoa according to package directions.
- Let everything cool before packaging in storage containers or freezer bags.
Label each container with the contents and date, and aim to use frozen items within three months. When reheating, thaw overnight in the fridge and add a splash of broth or water plus fresh herbs to bring back moisture and flavor.
Once the prep work is done, you can actually enjoy the evening. If you want something festive to serve with your batch-prepped meals:
👉 5 Christmas Cocktails Ramsay Would Approve for Your Holiday Table
One-Pan Wonder Meals

One-pan meals save both time and cleanup. A tray of seasoned chicken thighs surrounded by root vegetables delivers a complete dinner with very little hands-on work.
To keep the texture spot on:
- Pat chicken thighs dry and season all over with salt and pepper.
- Toss vegetables with olive oil, herbs, salt, and pepper, then spread them in a single layer around the chicken.
- Roast at 425°F until the chicken reaches an internal temperature of 165°F and the vegetables are caramelized on the edges.
- If the skin needs more color, finish with 2–3 minutes under the broiler, watching closely.
Let everything rest for 5–10 minutes before serving so the juices redistribute and the vegetables settle.
Rapid Sauce Building Techniques
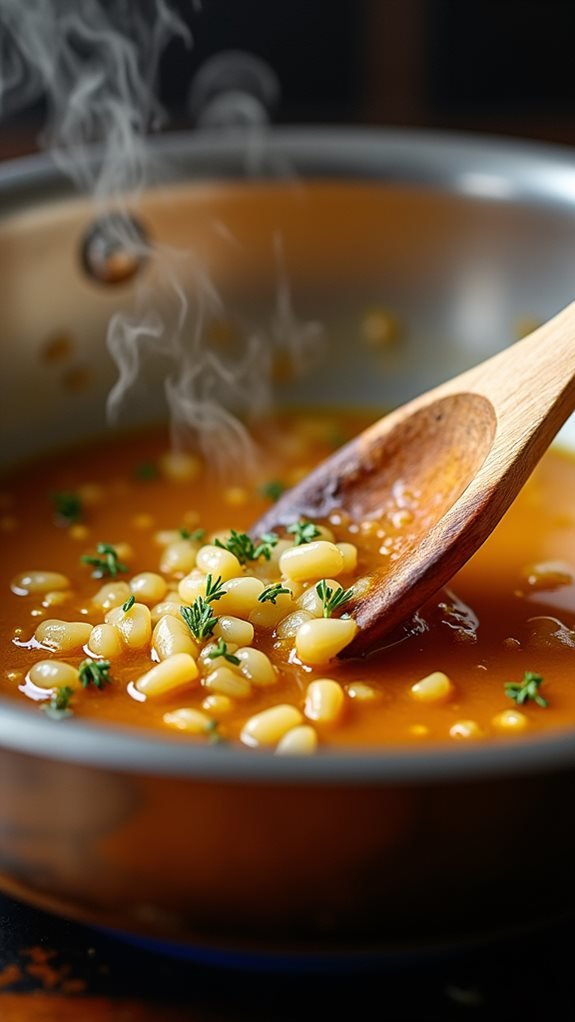
Quick pan sauces are one of the easiest ways to turn a simple roast or pan-seared protein into something that feels restaurant-worthy — without adding much time.
The method is straightforward once you know the sequence:
- Remove your cooked protein and keep the pan over medium heat. Leave the browned bits (fond) in place.
- Add butter and minced shallots. Cook until the shallots soften.
- Deglaze with white wine, scraping the fond, and reduce by about half.
- Add stock and herbs; simmer and reduce again until it lightly coats the back of a spoon.
- Whisk in Dijon mustard, adjust salt and pepper, then remove from heat and swirl in a small piece of cold butter.
That last piece of butter gives the sauce a glossy finish. If the pan is too hot at this stage, the sauce can break, so drop the heat or pull the pan off the burner before you add it.
You can watch similar pan-sauce techniques in action here:
👉 Quick Pan Sauce Video (TikTok)
Perfect Timing Without Stress
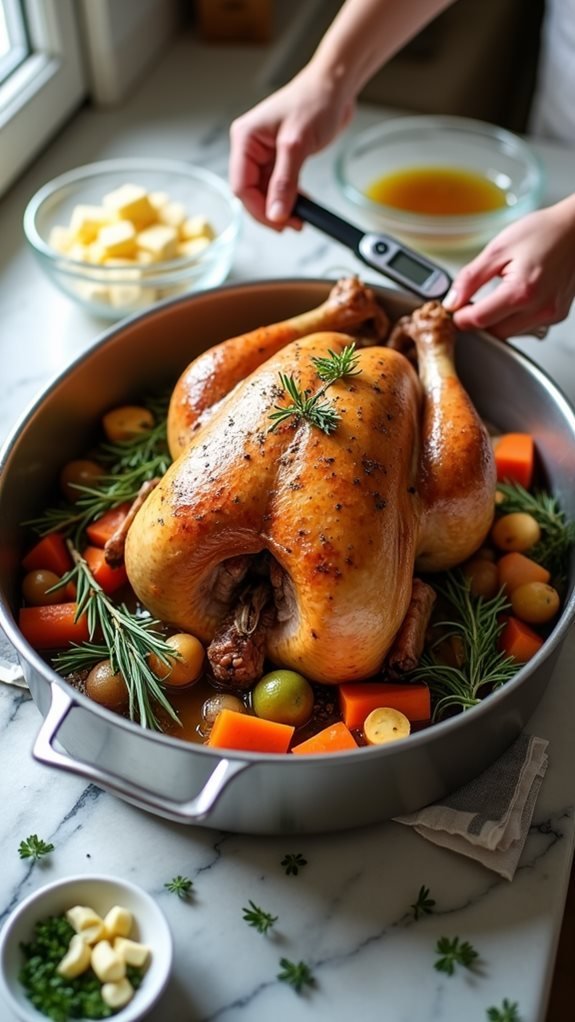
Coordinating turkey, sides, and desserts is where most of the stress lives. The trick is to work backward from your serving time and give yourself generous buffers.
For a 12–14 pound turkey (enough for 8–10 people), use this framework:
- Remove turkey from the fridge: 1 hour before cooking.
- Preheat oven to 325°F.
- Plan on about 15 minutes per pound, but always go by internal temperature.
- Target 165°F in the thickest part of the thigh.
- Let it rest for 30–45 minutes before carving.
While the turkey rests, finish your sides and gravy. This window is your best friend — it gives you breathing room to reheat dishes, adjust seasoning, and plate food without rushing.
For more visual timing cues and technique demonstrations, this video is worth a watch:
👉 Holiday Cooking Timing Video (YouTube)
Make-Ahead Holiday Sides
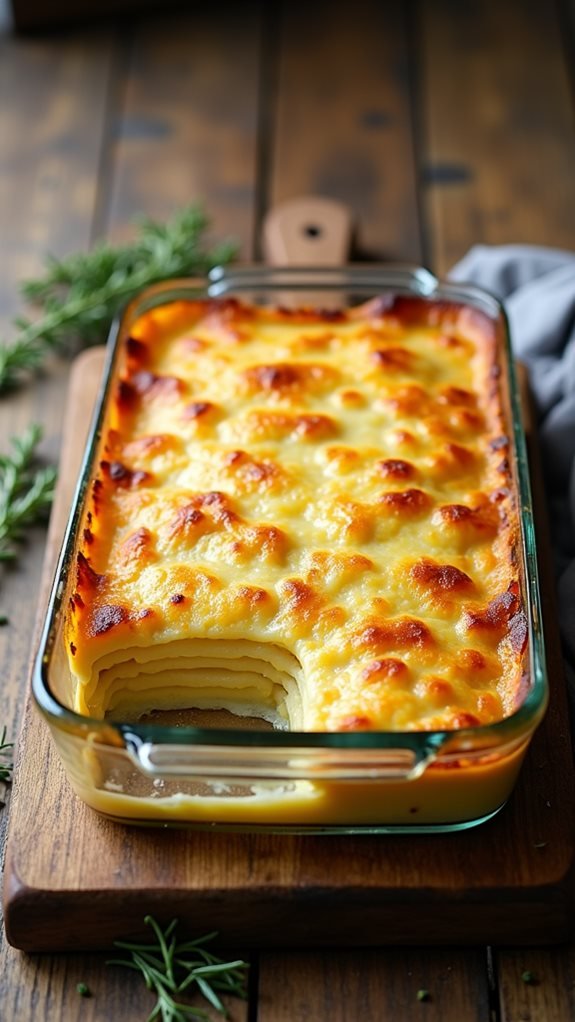
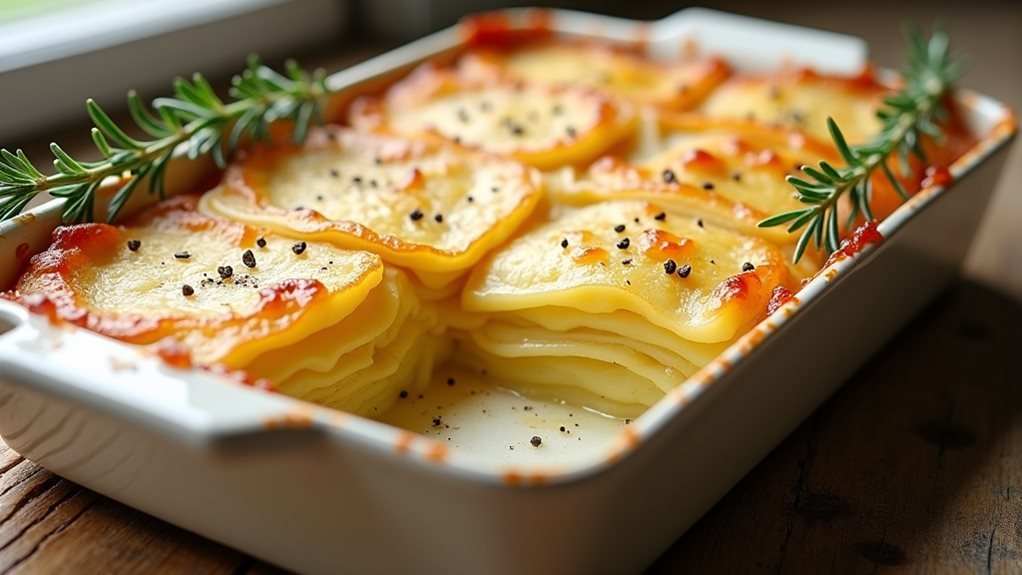
Make-ahead sides are the safety valve that keeps your holiday cooking day sane. Dishes like scalloped potatoes actually improve after resting in the fridge, because the flavors have more time to settle into the potatoes.
For rich, creamy scalloped potatoes:
- Slice Yukon Gold potatoes about 1/8-inch thick using a mandoline for even cooking.
- Simmer cream, milk, and garlic together before you layer; warm liquid distributes flavor better.
- Season each layer with salt, pepper, and thyme instead of relying on the top layer only.
- Top with a mix of Gruyere and Parmesan, cover with foil, and bake until tender.
- Cool completely before covering and refrigerating if you plan to serve later.
On the day you serve, bring the dish to room temperature and reheat at 350°F until hot and bubbling. Avoid freezing this kind of cream-based dish, as the texture can turn grainy.
These sides pair well with many of the most popular recipes on the site:
FAQs
How can I cut my holiday cooking time in half?
The biggest time wins come from better organization, not rushing. Set up mise en place for every recipe, sharpen your knives, batch-prep vegetables, and rely on techniques like blanching and sheet-pan roasting. That combination alone can easily cut your stress and active cooking time by a huge margin.
What is the most helpful Ramsay-style hack for home cooks?
Mise en place is the foundation. When all of your ingredients are measured, chopped, and grouped before you start cooking, you stop firefighting and start executing. It’s the single technique that changes how your kitchen feels on a busy holiday.
How far in advance can I prep vegetables for a holiday meal?
Blanched vegetables hold well for up to three days in the fridge when dried thoroughly and stored in airtight containers. You can also peel and chop some root vegetables a day ahead and keep them in cold water in the refrigerator.
How do I stop my turkey from drying out?
Use a digital thermometer and cook to temperature rather than time. Pull the turkey when it reaches about 165°F in the thickest part of the thigh, then let it rest for 30–45 minutes. That rest period is crucial — it allows juices to redistribute instead of running out onto the cutting board.
